Red White and Blue Popsicles
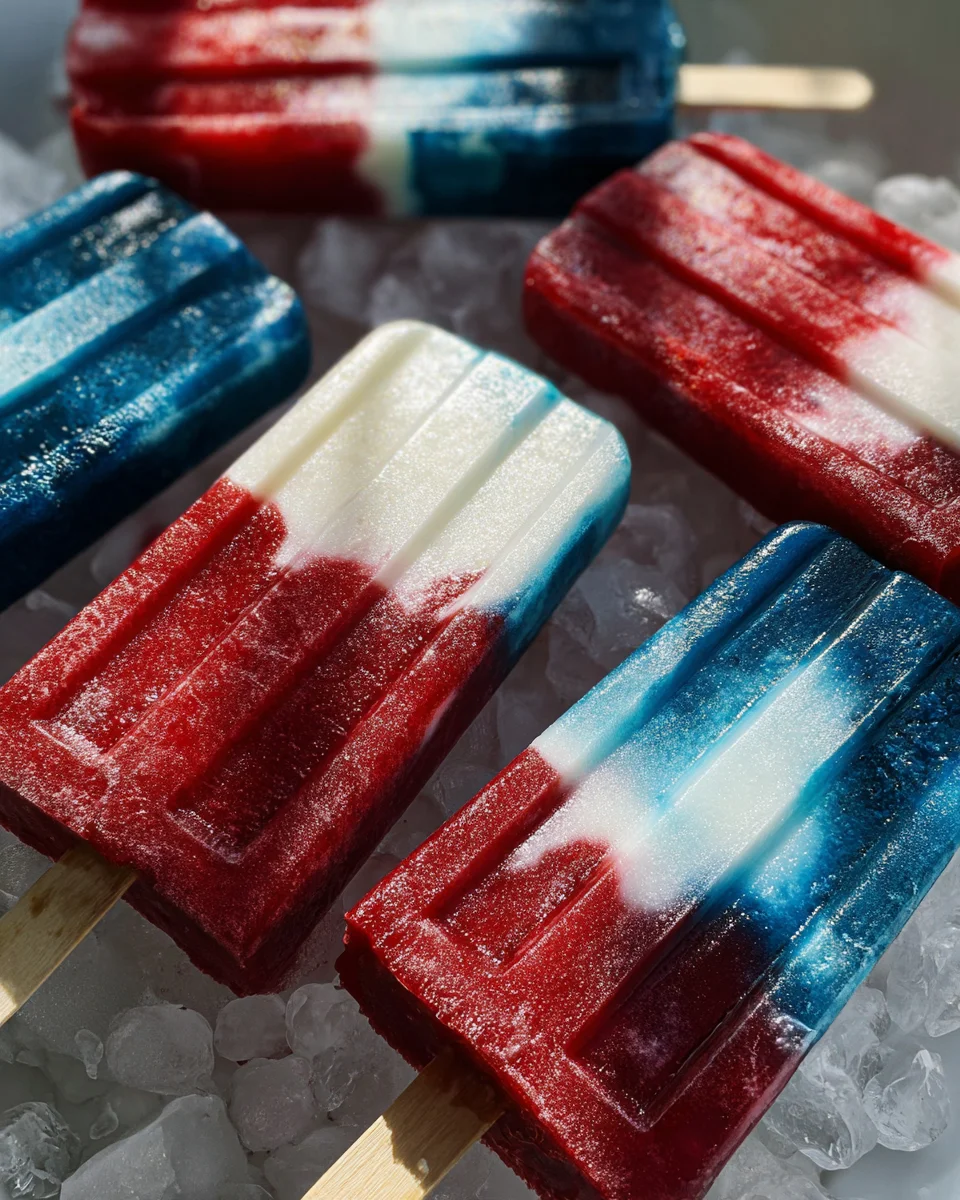
Red White and Blue Popsicles are a delightful and refreshing treat perfect for summer gatherings, patriotic celebrations, or just a hot day. With vibrant colors and delicious flavors, these popsicles are not only visually appealing but also healthy. Made with natural ingredients, they are a fantastic way to enjoy a frozen dessert without the guilt. Whether you’re hosting a barbecue or simply craving something sweet, these popsicles will impress everyone.
Why You’ll Love This Recipe
- Easy to Make: This recipe requires minimal effort and ingredients, making it accessible for all skill levels.
- Healthy Ingredients: Each layer is packed with fruit and coconut milk, allowing you to indulge without compromising your health.
- Customizable Flavors: Feel free to experiment with different fruits or sweeteners to suit your taste preferences.
- Perfect for Any Occasion: Ideal for summer parties, holidays, or just as a fun snack on a warm day.
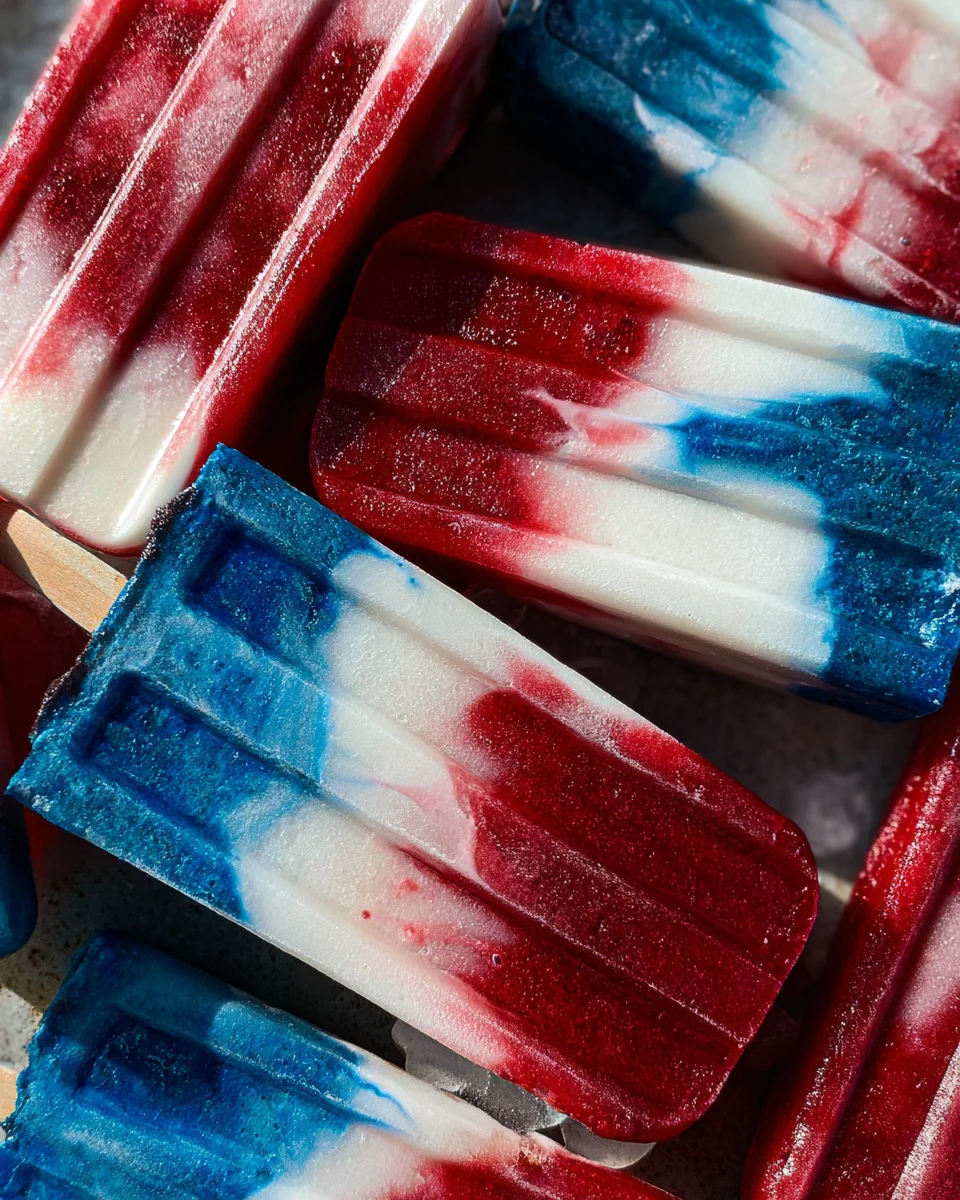
- Visually Stunning: The red, white, and blue layers create a beautiful presentation that is sure to wow your guests.
Tools and Preparation
To create these eye-catching Red White and Blue Popsicles, you’ll need a few essential tools. Having the right equipment will make the process smoother and more enjoyable.
Essential Tools and Equipment
- Ice pop molds
- High-speed blender
- Clean blender (for the white layer)
- Popsicle sticks
Importance of Each Tool
- Ice pop molds: These are crucial for shaping your popsicles perfectly and ensuring even freezing.
- High-speed blender: A powerful blender helps achieve smooth mixtures quickly, which is important for the texture of the popsicles.
- Popsicle sticks: Essential for easy handling of the popsicles once they’re frozen.
Ingredients
For the Red Layer:
- 1 cup raspberries
- 1 tbsp maple syrup (optional)
- 1-2 tbsp water
For the White Layer:
- 1 cup canned coconut milk
- 1 tbsp maple syrup (optional)
For the Blue Layer:
- ¼ tsp blue spirulina powder
- 1 cup coconut milk
- 1 tbsp maple syrup (optional)
- ¼ cup blueberries (optional, will turn purple blue if added)
How to Make Red White and Blue Popsicles
Step 1: Prepare the Red Layer
Combine the raspberries, maple syrup, and water in a high-speed blender. Blend until very smooth. Pour this mixture into six ice pop molds, using about 1½ tablespoons per mold. Place them in the freezer to set for at least 30 minutes.
Grab This Chef Knife Now - Almost Gone!
- Stays Razor-Sharp: Ice-hardened blade keeps its edge longer than ordinary knives
- Superior Grip Control: Unique finger hole design gives you perfect balance and safety
- Built to Last a Lifetime: Premium stainless steel blade with elegant beech wood handle
Customer Reviews ★★★★★
Step 2: Prepare the White Layer
While the red layer is freezing, clean your blender. Combine the coconut milk and optional maple syrup. Blend until smooth. Once the red layer has set, add heaping 1 – 1½ tablespoons of this white mixture into each mold to create the middle layer. Return the molds to freeze for at least 2 hours.
Step 3: Prepare the Blue Layer
In your blender, add coconut milk, blue spirulina powder, and optional maple syrup. Blend until smooth. After waiting for the white layer to set properly, remove the molds from the freezer. Add a layer of this blue mixture on top of each mold. Insert popsicle sticks into each mold before returning them to freeze until firm—about five hours.
Step 4: Serve Your Popsicles
To remove your popsicles from their molds easily, run them under hot water for about 10 seconds. Enjoy them immediately while frozen! Store any leftovers in an airtight container in the freezer for up to one month.
How to Serve Red White and Blue Popsicles
Serving Red White and Blue Popsicles can be a delightful experience, especially during summer gatherings or patriotic celebrations. These colorful treats not only look stunning but also taste refreshing. Here are some creative serving suggestions to enhance your popsicle experience.
Fun Presentation Ideas
- Use clear cups: Serve each popsicle in a clear cup for a fun and colorful display.
- Garnish with fruit: Top with fresh raspberries or blueberries for added flavor and visual appeal.
Accompaniments
- Pair with whipped cream: A dollop of light whipped cream adds a creamy texture that complements the fruity popsicles.
- Serve with sparkling water: Offer sparkling water infused with lime for a refreshing drink alongside the popsicles.
Themed Parties
- Host a Fourth of July BBQ: These popsicles make a perfect addition to any patriotic-themed gathering.
- Create a summer dessert bar: Let guests choose their toppings, like shredded coconut or nuts, to personalize their treat.
Creative Pairings
- Match with ice cream: Offer a scoop of vanilla ice cream on the side for an indulgent treat.
- Accompany with fresh mint leaves: Adding mint brings in an aromatic twist that elevates the overall flavor profile.
How to Perfect Red White and Blue Popsicles
To ensure your Red White and Blue Popsicles turn out perfectly every time, follow these simple tips for the best results.
- Use ripe fruit: Choose ripe raspberries and blueberries for optimal sweetness and flavor.
- Blend thoroughly: Make sure each layer is blended until smooth to achieve a creamy texture.
- Freeze completely: Allow each layer to freeze completely before adding the next for clean layers.
- Experiment with flavors: Don’t hesitate to mix in different fruits or flavors to create your unique popsicle blend.
- Avoid overfilling molds: Fill the molds just below the top to prevent spills when inserting sticks.
Best Side Dishes for Red White and Blue Popsicles
When serving Red White and Blue Popsicles, consider complementing them with delicious side dishes that enhance the festive atmosphere. Here are some great options:
- Fruit Salad: A vibrant mix of seasonal fruits adds freshness and color to your spread.
- Caprese Skewers: Cherry tomatoes, mozzarella balls, and basil drizzled with balsamic glaze make for an easy appetizer.
- Grilled Corn on the Cob: Sweet corn seasoned with butter is a classic summer favorite that pairs well with desserts.
- Veggie Platter: A selection of colorful veggies served with hummus provides a healthy contrast to sweet treats.
- Mini Sandwiches: Create bite-sized sandwiches using various fillings for an easy-to-eat option alongside popsicles.
- Cheese Board: An assortment of cheeses, crackers, and fruits offers a savory balance to sweet desserts.
Common Mistakes to Avoid
When making Red White and Blue Popsicles, it’s easy to overlook some simple steps. Here are common mistakes and how to avoid them.
-
Skipping the Freezing Time: Allowing each layer enough time to freeze is crucial. Rushing this step can cause layers to mix, resulting in a less appealing look.
-
Not Using Fresh Ingredients: Ensure your fruits are fresh for the best flavor. Overripe or frozen fruit may alter the taste and texture of your popsicles.
-
Ignoring Layer Thickness: Pouring too much or too little mixture for each layer can affect the popsicle’s balance. Aim for consistent measurements for a beautiful presentation.
-
Omitting Sweetener: While optional, sweeteners like maple syrup enhance flavors. If you skip it entirely, your popsicles might taste bland.
-
Forgetting Blender Cleanliness: Mixing different layers in a dirty blender can lead to unwanted flavor combinations. Always clean thoroughly between layers.
Storage & Reheating Instructions
Refrigerator Storage
- Store any leftover popsicles in a sealed container.
- They will remain fresh for up to one week in the refrigerator.
Freezing Red White and Blue Popsicles
- Wrap individual popsicles in plastic wrap for extra protection.
- You can store them in the freezer for up to a month without losing quality.
Reheating Red White and Blue Popsicles
- Oven: Not applicable, as these popsicles should be enjoyed frozen.
- Microwave: Not recommended; this will melt them quickly rather than reheat.
- Stovetop: Not suitable; consume straight from the freezer for best results.
Frequently Asked Questions
Here are some common questions about making Red White and Blue Popsicles.
Can I use frozen fruit instead of fresh?
Yes, you can use frozen fruit, but it may change the texture slightly. Make sure to blend thoroughly.
How do I make Red White and Blue Popsicles dairy-free?
Using coconut milk as suggested makes these popsicles dairy-free. You can also explore other non-dairy milk options if desired.
What if I don’t have blue spirulina powder?
You can substitute blue spirulina with other natural blue food coloring or simply omit it for a different look!
How long do Red White and Blue Popsicles take to freeze?
Each layer needs specific freezing times—30 minutes for red, 2 hours for white, and about 5 hours after adding the blue layer.
Can I customize my Red White and Blue Popsicles?
Absolutely! Feel free to swap fruits or sweeteners based on your preferences, making them unique every time you prepare them.
Final Thoughts
These Red White and Blue Popsicles are not only visually striking but also refreshing during hot summer days. Their versatility allows you to customize flavors and colors easily. Try experimenting with different fruits or sweeteners to make them uniquely yours!
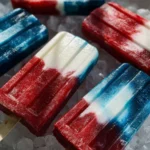
Red White and Blue Popsicles
- Total Time: 0 hours
- Yield: Makes 6 popsicles 1x
Description
Red White and Blue Popsicles are the ultimate patriotic treat for summer celebrations. Bursting with vibrant colors and fruity flavors, these refreshing popsicles are made from natural ingredients, allowing you to indulge without guilt. Ideal for barbecues, Fourth of July parties, or simply on a hot day, they are incredibly easy to make and customizable to suit your taste. Each layer showcases the beauty of fresh fruits while providing a fun and healthy dessert option that everyone will love.
Ingredients
- 1 cup raspberries
- 1 tbsp maple syrup (optional)
- 1–2 tbsp water
- 1 cup canned coconut milk
- ¼ tsp blue spirulina powder
- 1 tbsp maple syrup (optional)
- 1 cup blueberries (optional)
Instructions
- Blend raspberries with maple syrup and water until smooth. Pour into ice pop molds and freeze for 30 minutes.
- Clean the blender, combine coconut milk and optional maple syrup, then add the white layer after the red layer is set. Freeze for 2 hours.
- Blend coconut milk with blue spirulina powder, pour on top of the white layer, insert sticks, and freeze until firm (about 5 hours).
- To serve, run molds under hot water for 10 seconds before enjoying.
- Prep Time: 15 minutes
- Cook Time: Freezing time varies
- Category: Dessert
- Method: Freezing
- Cuisine: American
Nutrition
- Serving Size: 1 serving
- Calories: 60
- Sugar: 9g
- Sodium: 5mg
- Fat: 2g
- Saturated Fat: 1g
- Unsaturated Fat: 1g
- Trans Fat: 0g
- Carbohydrates: 12g
- Fiber: 2g
- Protein: 1g
- Cholesterol: 0mg


