Raising Canes Bread
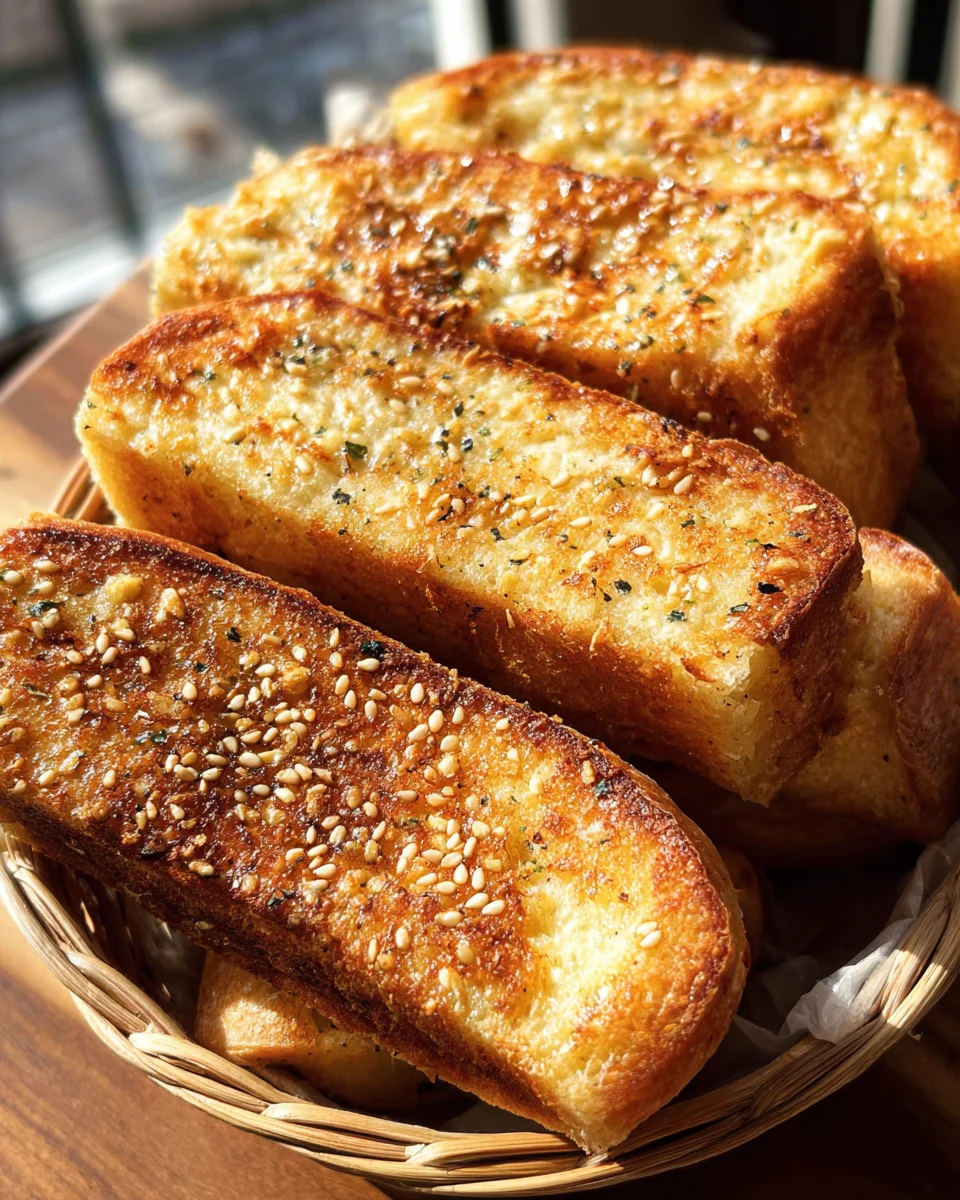
Homemade Raising Canes Bread is the perfect side for any meal. This easy-to-make garlic bread, reminiscent of the delicious toast served at Raising Cane’s, elevates your dining experience. Whether you’re hosting a BBQ or enjoying a casual dinner, this recipe is sure to impress. Its rich buttery flavor and crispy texture make it a standout choice for various occasions.
Why You’ll Love This Recipe
- Quick Preparation: With just 5 minutes total time, this garlic bread comes together in no time.
- Delicious Flavor: The combination of garlic salt and butter creates a mouthwatering taste that pairs well with many dishes.
- Versatile Side Dish: Perfect for BBQs, pastas, or as a snack, this bread fits seamlessly into any meal.
- Easy Ingredients: With only three ingredients needed, making Raising Canes Bread is straightforward and hassle-free.
- Crowd-Pleaser: Everyone loves garlic bread! This recipe is sure to be a hit with family and friends.
Tools and Preparation
Before you start making your Raising Canes Bread, gather the necessary tools. Having the right equipment will make your cooking process smoother.
Essential Tools and Equipment
- Cast-iron skillet
- Small mixing bowl
- Spatula
Importance of Each Tool
- Cast-iron skillet: Provides even heating and helps achieve that perfect crispy texture on the bread.
- Small mixing bowl: Ideal for combining the butter and garlic salt without making a mess.
- Spatula: Essential for flipping and serving the bread without tearing it.
Ingredients
Homemade Raising Canes Bread just like they serve at Raising Canes!
Grab This Chef Knife Now - Almost Gone!
- Stays Razor-Sharp: Ice-hardened blade keeps its edge longer than ordinary knives
- Superior Grip Control: Unique finger hole design gives you perfect balance and safety
- Built to Last a Lifetime: Premium stainless steel blade with elegant beech wood handle
Customer Reviews ★★★★★
For the Garlic Butter
- 4 tablespoons unsalted butter (softened)
- 1 teaspoon garlic salt
For the Bread
- 4 slices BBQ sesame bread
How to Make Raising Canes Bread
Step 1: Prepare the Garlic Butter
- In a small mixing bowl, combine the softened butter and garlic salt.
- Mix until well blended to ensure an even distribution of flavor.
Step 2: Spread on the Bread
- Take each slice of BBQ sesame bread.
- Generously spread the garlic butter mixture over the top of each slice.
Step 3: Heat Your Skillet
- Preheat your cast-iron skillet over medium-high heat for about 2 minutes.
- Ensure it’s hot enough to create a nice sear on the bread.
Step 4: Sear the Bread
- Place each slice of bread in the skillet, butter side down.
- Cook for about 2 minutes or until they start to brown nicely.
Step 5: Serve Warm
- Carefully remove the slices from the skillet using a spatula.
- Serve immediately while hot for maximum enjoyment.
Enjoy your homemade Raising Canes Bread alongside your favorite meals!
How to Serve Raising Canes Bread
Raising Canes Bread is a delightful addition to any meal, perfect for soaking up sauces or enjoying on its own. Here are some creative ways to serve this delicious garlic bread.
Pair with Your Favorite Dishes
- With Fried Chicken: The buttery, garlicky flavors of Raising Canes Bread complement crispy fried chicken beautifully.
- As a Side for BBQ Ribs: Enjoy these slices alongside BBQ ribs to soak up the tangy sauce.
- With Salads: Use Raising Canes Bread as a side to fresh salads for a satisfying crunch and flavor contrast.
- For Dipping: Serve with marinara or creamy dipping sauces for an irresistible appetizer.
Enjoy as a Snack
- Garlic Bread Sliders: Make mini sandwiches filled with your favorite meats or cheeses using slices of Raising Canes Bread.
- Toast with Avocado: Top toasted slices with smashed avocado and seasoning for a nutritious snack.
- Cheesy Garlic Toast: Add cheese and broil until melted for a rich, cheesy variation.
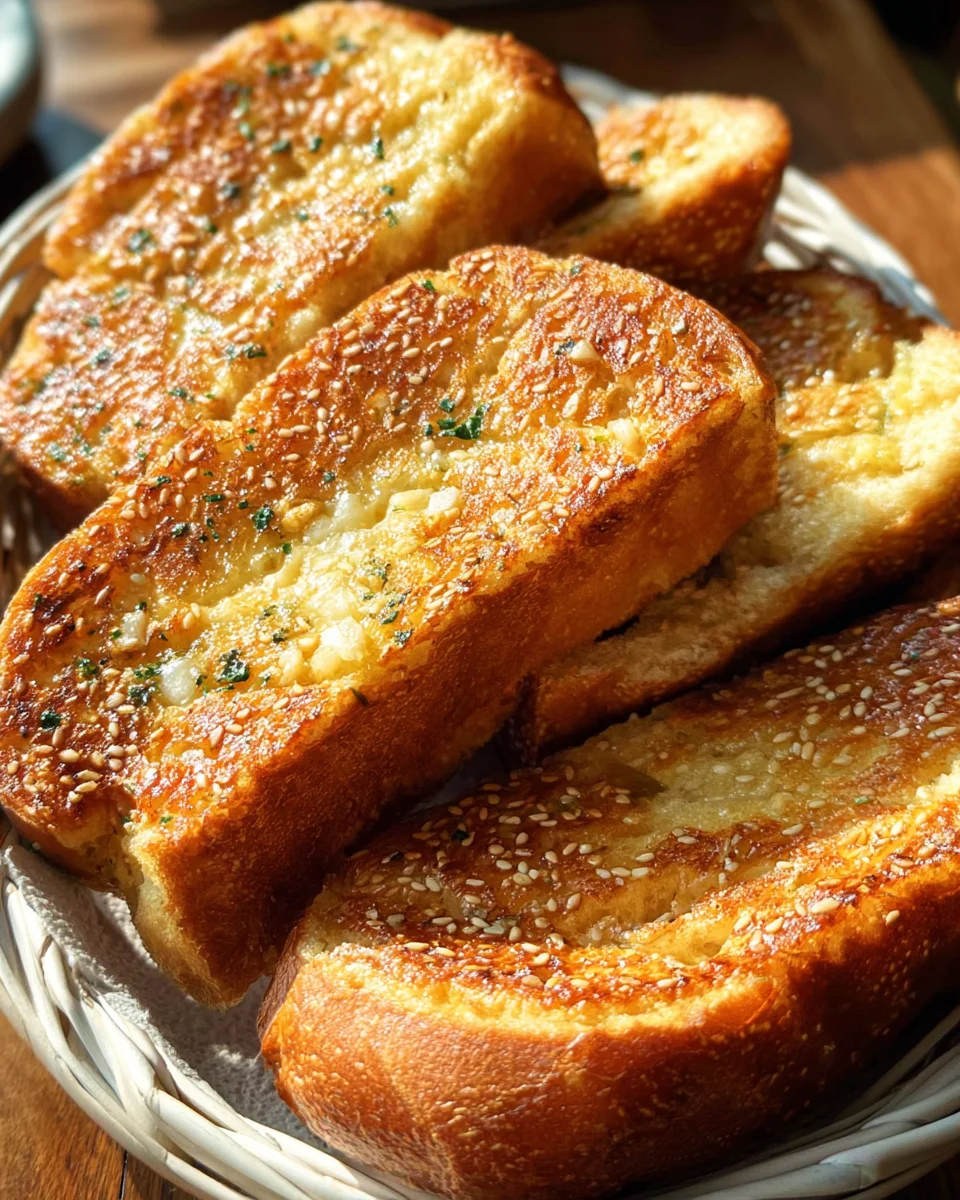
How to Perfect Raising Canes Bread
Perfecting your Raising Canes Bread can elevate your meal experience. Here are some helpful tips.
- Use Softened Butter: Ensure the butter is softened for easy spreading on the bread.
- Fresh Garlic Salt: Opt for fresh garlic salt for enhanced flavor; it makes all the difference in taste.
- Adjust Heat Carefully: Monitor the skillet’s heat closely to avoid burning while achieving that perfect golden-brown color.
- Experiment with Herbs: Add dried herbs like oregano or parsley to the butter mix for extra flavor.
Best Side Dishes for Raising Canes Bread
Raising Canes Bread pairs well with a variety of side dishes. Here are some great options to consider.
- Coleslaw: A refreshing crunch that balances out the richness of the bread.
- Macaroni and Cheese: Creamy, cheesy goodness that complements garlic flavors perfectly.
- Potato Wedges: Crispy wedges add texture and taste alongside your meal.
- Grilled Vegetables: Charred veggies bring color and nutrition to your plate.
- Caesar Salad: Crisp romaine lettuce and creamy dressing work well with garlic bread.
- Baked Beans: Sweet and savory beans are great for dipping into the bread’s buttery surface.
Common Mistakes to Avoid
Making Raising Canes Bread can be simple, but there are common mistakes that can affect the outcome. Here are some pitfalls to watch out for:
- Skipping the butter softening: Using cold butter makes it difficult to spread evenly. Always soften the butter before mixing with garlic salt.
- Not preheating the skillet: A hot skillet is crucial for achieving a perfect sear. Make sure to heat it for at least 2 minutes before adding the bread.
- Overcrowding the skillet: Placing too many slices at once can lower the skillet’s temperature, resulting in uneven cooking. Cook in batches if necessary.
- Ignoring cooking time: Cooking for too long can burn the bread. Keep an eye on it and remove when it starts to brown.
- Using the wrong bread type: BBQ sesame bread is key for that authentic taste. Don’t substitute with other types of bread if you want the best results.
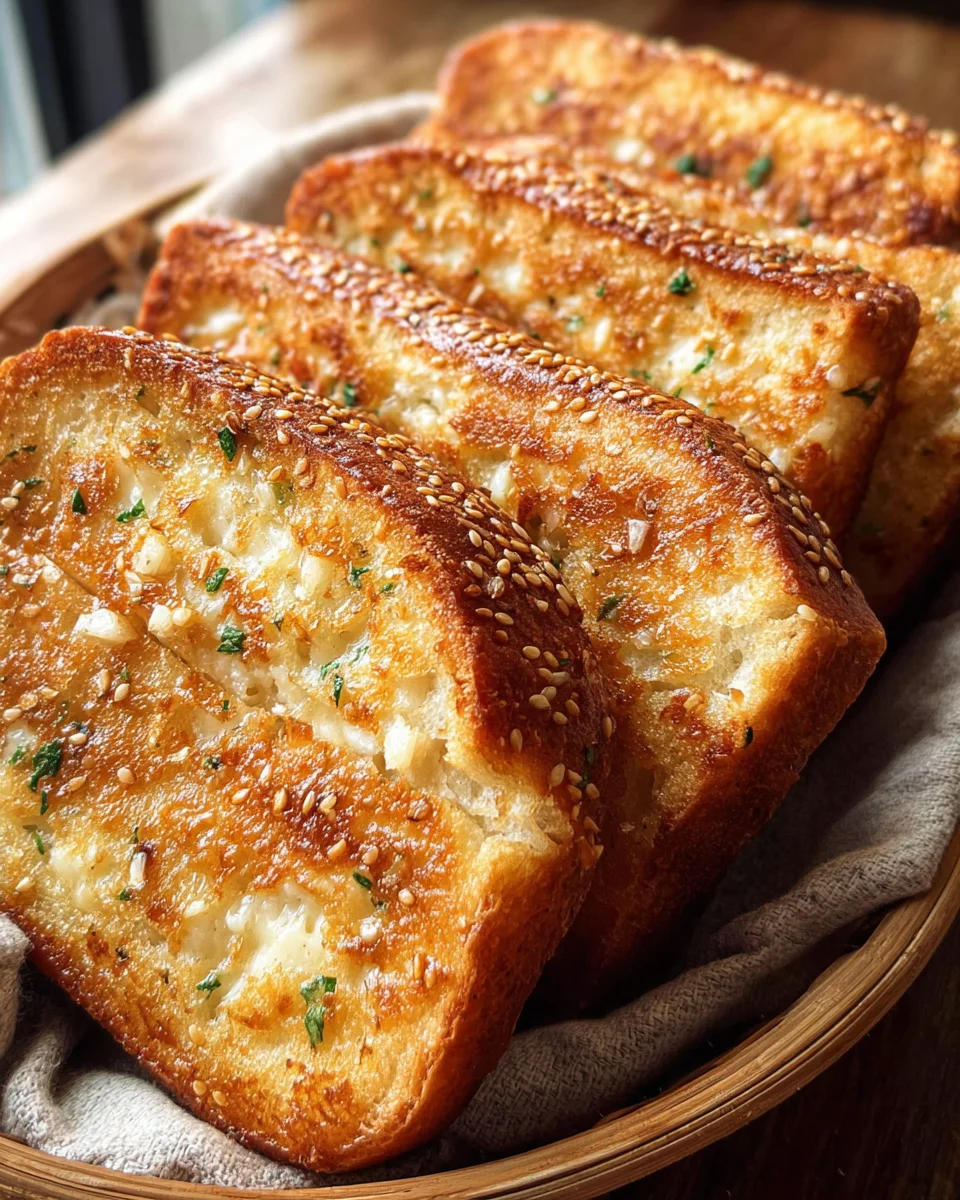
Storage & Reheating Instructions
Refrigerator Storage
- Store any leftover Raising Canes Bread in an airtight container.
- It will keep well in the refrigerator for up to 3 days.
Freezing Raising Canes Bread
- Wrap each slice tightly in plastic wrap or aluminum foil.
- Place them in a freezer-safe bag and freeze for up to 1 month.
Reheating Raising Canes Bread
- Oven: Preheat your oven to 350°F (175°C). Bake for about 5-7 minutes until warm and crispy.
- Microwave: Heat on a microwave-safe plate for about 15-20 seconds. Be cautious not to overheat, as it may become chewy.
- Stovetop: Reheat in a skillet over medium heat for about 1 minute on each side until warmed through.
Frequently Asked Questions
Here are some common questions about making Raising Canes Bread.
What type of bread should I use for Raising Canes Bread?
You should use BBQ sesame bread to replicate the authentic flavor of Raising Canes Garlic Bread.
How do I make Raising Canes Garlic Bread extra crispy?
For extra crispiness, ensure your skillet is hot enough before placing the bread down and avoid overcrowding.
Can I customize my Raising Canes Toast recipe?
Absolutely! You can add herbs or spices like parsley or paprika for added flavor.
How long does Raising Canes Bread last?
When stored properly, it can last up to 3 days in the fridge and up to a month in the freezer.
Final Thoughts
Raising Canes Bread is a quick and delicious side that complements many meals. Its garlicky goodness is perfect for BBQs or cozy dinners at home. Feel free to customize it with your favorite toppings or seasonings to suit your taste!

Homemade Raising Canes Bread
- Total Time: 9 minutes
- Yield: 4 servings 1x
Description
Raising Canes Bread is a delightful and easy-to-make garlic toast that captures the essence of the beloved Raising Cane’s restaurant. This homemade version features a rich, buttery flavor combined with the classic taste of garlic salt, making it an irresistible side dish for any meal. Whether you’re hosting a barbecue, enjoying a cozy dinner, or simply in need of a tasty snack, this crispy garlic bread will undoubtedly elevate your dining experience.
Ingredients
- 4 tablespoons unsalted butter (softened)
- 1 teaspoon garlic salt
- 4 slices BBQ sesame bread
Instructions
- In a small mixing bowl, combine softened butter and garlic salt until well blended.
- Spread the garlic butter mixture generously over each slice of BBQ sesame bread.
- Preheat a cast-iron skillet over medium-high heat for about 2 minutes.
- Place each slice, butter side down, in the hot skillet and cook for about 2 minutes or until golden brown.
- Use a spatula to remove the slices from the skillet and serve warm.
- Prep Time: 5 minutes
- Cook Time: 4 minutes
- Category: Side Dish
- Method: Searing
- Cuisine: American
Nutrition
- Serving Size: 1 slice (40g)
- Calories: 161
- Sugar: 0g
- Sodium: 250mg
- Fat: 14g
- Saturated Fat: 8g
- Unsaturated Fat: 5g
- Trans Fat: 0g
- Carbohydrates: 9g
- Fiber: 1g
- Protein: 2g
- Cholesterol: 30mg


