Chocolate Truffles
These Chocolate Truffles are a delightful treat that perfectly balances rich flavor with creamy texture. Ideal for celebrations, gifts, or simply indulging yourself, these truffles are incredibly easy to make and bring a touch of elegance to any occasion. With their melt-in-your-mouth quality and customizable flavors, they stand out as a must-try dessert.

Why You’ll Love This Recipe
- Easy to Make: You can prepare these truffles in just five minutes, making them a quick dessert option.
- Versatile Flavors: Customize your truffles by adding flavors like coffee, raspberry, or coconut for a unique twist.
- Perfect for Any Occasion: Whether it’s a party, holiday, or just because, these truffles fit every event beautifully.
- Low in Calories: At only 70 kcal per truffle, you can enjoy these sweets without the guilt.
- Great for Gifting: Pack them up in a decorative box for an impressive homemade gift.
Tools and Preparation
To create the perfect Chocolate Truffles, having the right tools on hand will make the process smooth and enjoyable.
Grab This Chef Knife Now - Almost Gone!
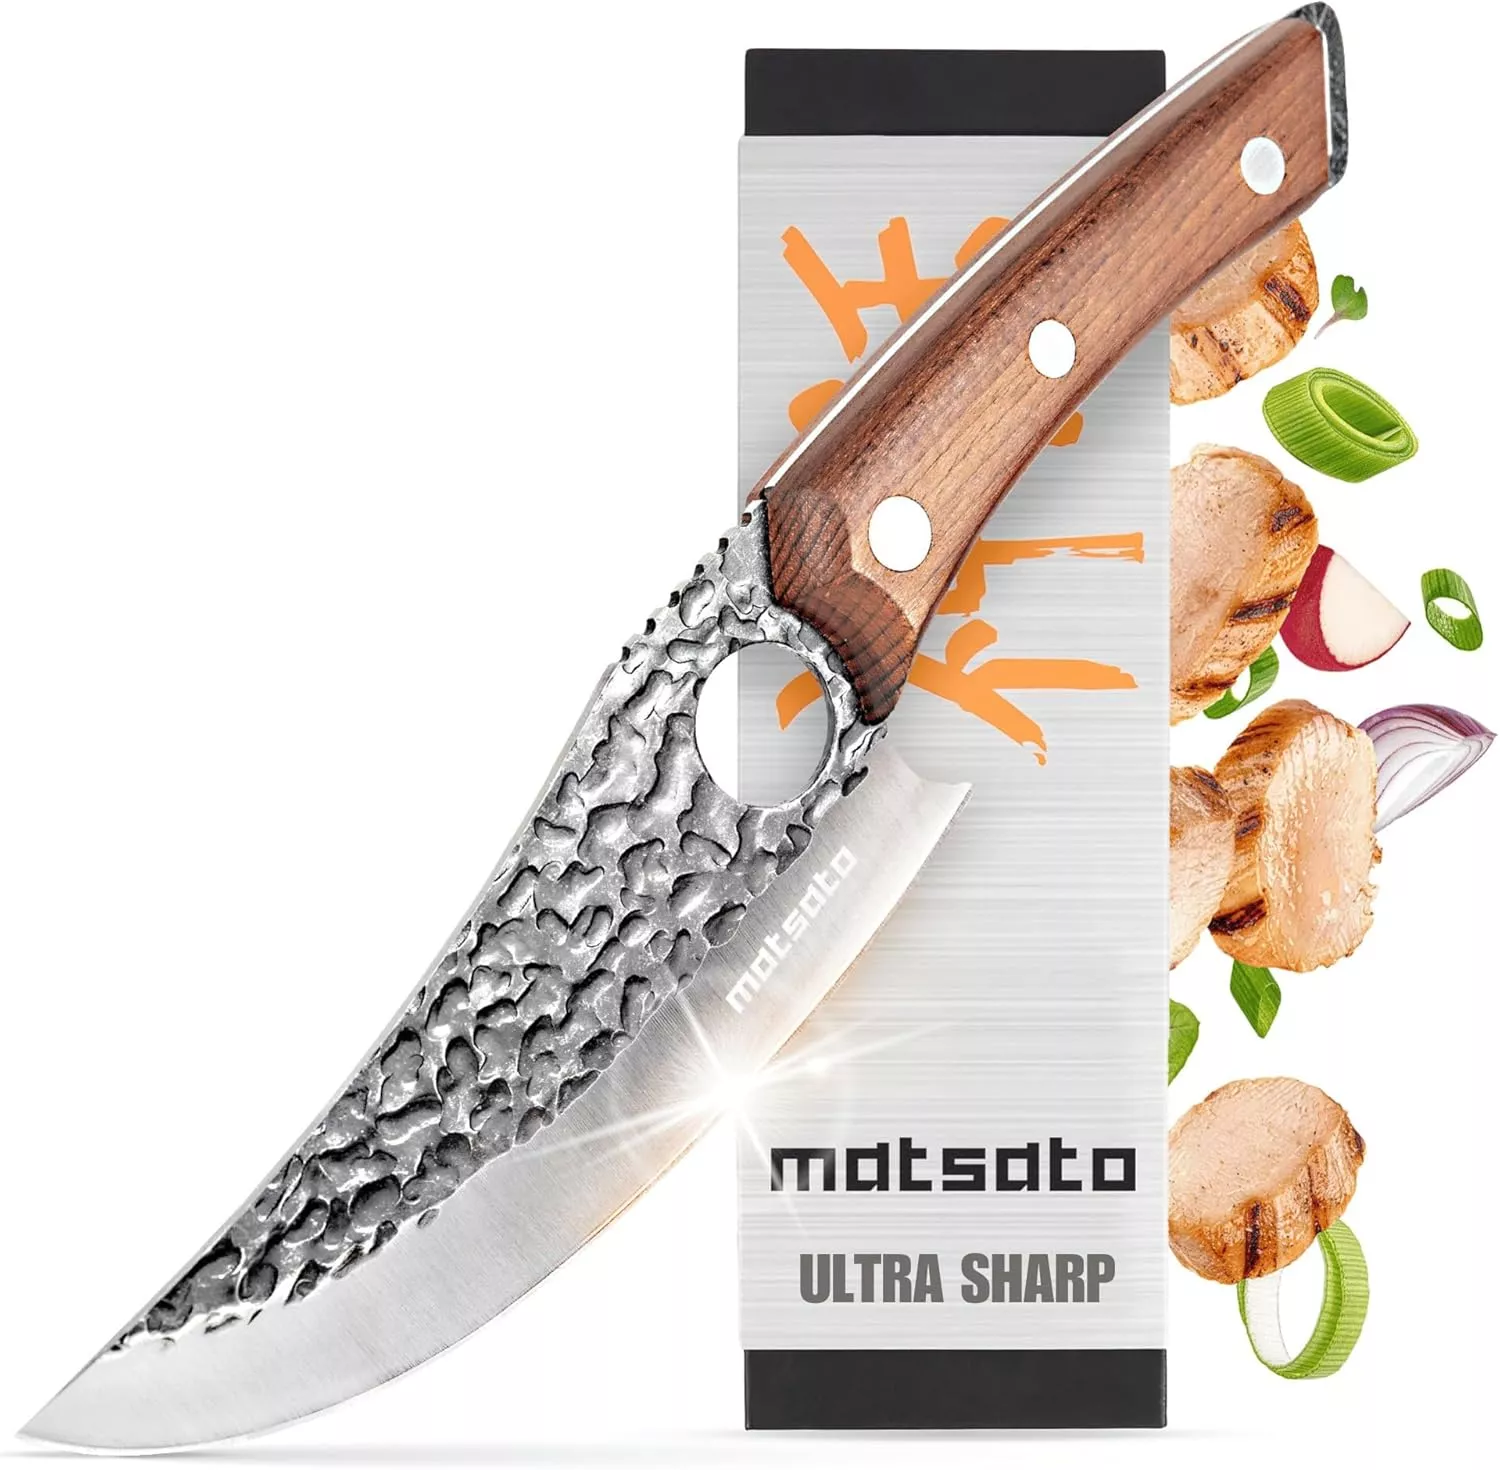
- Stays Razor-Sharp: Ice-hardened blade keeps its edge longer than ordinary knives
- Superior Grip Control: Unique finger hole design gives you perfect balance and safety
- Built to Last a Lifetime: Premium stainless steel blade with elegant beech wood handle
Customer Reviews ★★★★★
Essential Tools and Equipment
- A sharp knife
- Mixing bowl
- Saucepan
- Refrigerator
- Parchment paper
Importance of Each Tool
- Sharp knife: Ensures clean cuts when chopping chocolate for even melting.
- Mixing bowl: Provides ample space to combine ingredients thoroughly without spills.
- Saucepan: Allows you to heat cream or milk evenly for the best texture.
Ingredients
These rich, smooth, and creamy dark chocolate truffles are easy to make and melt in your mouth.
For the Chocolate Truffles
- 8 oz semi-sweet or dark chocolate
- 1/2 cup heavy cream (or coconut milk)
- optional 1/4 tsp pure vanilla extract
- optional pinch salt
How to Make Chocolate Truffles
Step 1: Prepare the Chocolate
- Chop the chocolate finely, ensuring it melts quickly and evenly.
- If using coconut milk, remember to choose the full-fat canned type.
Step 2: Heat the Cream
- In a saucepan, heat the heavy cream (or coconut milk) just until it begins to boil.
Step 3: Combine Ingredients
- Pour the hot cream over the chopped chocolate.
- Add salt and vanilla extract if desired.
- Stir until smooth and fully combined.
Step 4: Chill and Shape
- Refrigerate the mixture for at least 2 hours until firm enough to scoop.
- Use your hands or a mini cookie scoop to roll into balls.
Step 5: Coat Your Truffles (Optional)
- Roll truffles in cocoa powder, sprinkles, crushed nuts, or shredded coconut if desired.
- Place on parchment-lined plate.
Step 6: Store
- Refrigerate or freeze until ready to serve.
- Leftover truffles can be stored in the refrigerator for 1-2 months.
Enjoy making your delicious Chocolate Truffles!
How to Serve Chocolate Truffles
Chocolate truffles are a delightful dessert that can be served in various ways, enhancing their rich and creamy flavor. Here are some creative serving suggestions to elevate your chocolate truffles.
With Fresh Fruits
- Berries: Pair your truffles with strawberries, raspberries, or blueberries for a refreshing contrast.
- Citrus slices: Serve with orange or lemon slices to add a zesty balance to the sweetness.
On a Dessert Platter
- Truffle Medley: Arrange different flavors of chocolate truffles on a beautiful platter to impress your guests.
- Garnish with Nuts: Sprinkle chopped nuts around the truffles for added texture and visual appeal.
As Part of a Gift Box
- Homemade Treats: Package your chocolate truffles in a decorative box for thoughtful gift-giving.
- Personalized Notes: Include a handwritten note to make the gift even more special.
With Coffee or Tea
- Coffee Pairing: Enjoy chocolate truffles alongside a rich espresso or cappuccino for an indulgent treat.
- Herbal Tea: Pair with herbal tea for a soothing dessert experience.

How to Perfect Chocolate Truffles
Creating the perfect chocolate truffles requires attention to detail and some helpful tips. Follow these guidelines to ensure your truffles turn out beautifully every time.
- Use high-quality chocolate: The better the chocolate, the better the flavor of your truffles will be.
- Chill properly: Allow the mixture to chill until firm enough to scoop; this makes rolling easier.
- Experiment with flavors: Try adding different extracts or liqueurs for unique variations.
- Roll in coatings: Use cocoa powder, crushed nuts, or coconut flakes for added texture and taste.
- Keep them cool: Store truffles in the refrigerator to maintain their shape and consistency.
Best Side Dishes for Chocolate Truffles
Pairing side dishes with chocolate truffles can enhance your dessert experience. Here are some delicious options that complement their rich flavor.
- Vanilla Ice Cream: A classic pairing that adds creaminess and contrasts nicely with the richness of the truffles.
- Chocolate Mousse: For true chocolate lovers, this light and airy dessert pairs perfectly with dense truffles.
- Caramel Sauce: Drizzle warm caramel sauce over the plate for an indulgent treat that enhances sweetness.
- Cheese Platter: Offer soft cheeses like Brie or goat cheese that provide a savory contrast to sweet treats.
- Nut Brittle: Add crunch and flavor with homemade or store-bought nut brittle on the side.
- Fruit Compote: Serve alongside a tangy fruit compote like raspberry or cherry for brightness against decadent flavors.
Common Mistakes to Avoid
Making chocolate truffles can be simple, but there are a few common mistakes that can affect your results.
- Using low-quality chocolate: Always choose high-quality chocolate for the best flavor. Cheap chocolate can lead to unappealing truffles.
- Not chopping chocolate finely: If you don’t chop the chocolate into small pieces, it may not melt evenly. Chop it finely to ensure smooth mixing.
- Skipping refrigeration: Allowing the truffles to chill is crucial for achieving the right texture. Don’t skip this step!
- Overheating cream or milk: Heating the cream too much can scorch it, ruining the flavor. Heat it gently until just before boiling.
- Ignoring flavor variations: Don’t be afraid to experiment! Adding flavors like vanilla or mint can elevate your truffles. Explore different options.

Storage & Reheating Instructions
Refrigerator Storage
- Store in an airtight container to maintain freshness.
- Chocolate truffles will last up to 1-2 weeks in the refrigerator.
Freezing Chocolate Truffles
- Place truffles in a single layer on a baking sheet before freezing.
- Transfer them to a freezer-safe container once solid; they can be stored for up to 1-2 months.
Reheating Chocolate Truffles
- Oven: Preheat to 200°F and warm truffles for about 5 minutes, ensuring they don’t melt completely.
- Microwave: Heat on low power in 10-second intervals, checking frequently to avoid melting.
- Stovetop: Use a double boiler on low heat, stirring gently until warmed through.
Frequently Asked Questions
Here are some common questions about chocolate truffles that might help you perfect your recipe.
What are Chocolate Truffles made of?
Chocolate truffles are made from a mixture of chocolate and cream, which creates a rich and creamy filling. You can also add various flavors and toppings.
How do I make my Chocolate Truffles firmer?
To make firmer truffles, increase the amount of chocolate relative to cream or refrigerate them longer before rolling.
Can I use white chocolate for Chocolate Truffles?
Yes! You can use white chocolate instead of dark or semi-sweet chocolate. Just keep in mind that white chocolate will yield a different flavor profile.
How should I store Chocolate Truffles?
Store your chocolate truffles in an airtight container in the refrigerator for up to two weeks or freeze them for longer storage.
Final Thoughts
These Chocolate Truffles are not only rich and creamy but also incredibly versatile. You can customize them with various flavors and toppings to suit any occasion. Whether you want a sweet treat for yourself or an elegant gift for someone special, these truffles are sure to delight everyone. Give them a try!

Chocolate Truffles
- Total Time: 15 minutes
- Yield: Makes approximately 12 truffles 1x
Description
Indulge in the decadent world of Chocolate Truffles, where rich flavor meets a creamy texture. These delightful treats are not only incredibly easy to make but also allow for endless customization with flavors like coffee, raspberry, or coconut. Perfect for any celebration, as gifts, or just a personal indulgence, these truffles will elevate any occasion. With each bite melting in your mouth, they are sure to impress friends and family alike. Packaged beautifully, they also make for a thoughtful homemade gift that showcases your culinary skills.
Ingredients
- 8 oz semi-sweet or dark chocolate
- 1/2 cup heavy cream (or coconut milk)
- Optional: 1/4 tsp pure vanilla extract
- Optional: Pinch of salt
Instructions
- Chop the chocolate finely and set aside.
- In a saucepan, heat the heavy cream (or coconut milk) until just boiling.
- Pour the hot cream over the chopped chocolate and add salt and vanilla if desired. Stir until smooth.
- Refrigerate the mixture for at least 2 hours until firm enough to scoop.
- Roll into balls using your hands or a mini cookie scoop.
- Optionally coat with cocoa powder, sprinkles, or nuts before placing on parchment paper.
- Prep Time: 10 minutes
- Cook Time: 5 minutes
- Category: Dessert
- Method: No-bake
- Cuisine: American
Nutrition
- Serving Size: 1 truffle (15g)
- Calories: 70
- Sugar: 4g
- Sodium: 15mg
- Fat: 5g
- Saturated Fat: 3g
- Unsaturated Fat: 2g
- Trans Fat: 0g
- Carbohydrates: 7g
- Fiber: 1g
- Protein: 1g
- Cholesterol: 5mg


