Bisquick Sausage Balls Recipe
Easy Bisquick sausage balls are a delicious and versatile treat perfect for any occasion. This Bisquick Sausage Balls Recipe combines just three ingredients to create flavorful, cheesy bites that everyone will love. Ideal as appetizers or snacks, these sausage balls can be made gluten-free and customized with spicy sausage for an extra kick. Whether you’re hosting a party or enjoying a cozy evening at home, this recipe is sure to impress.

Why You’ll Love This Recipe
- Quick Preparation: With only 15 minutes of prep time, you can whip these up in no time.
- Simple Ingredients: Only three main ingredients are needed, making it easy to gather what you need.
- Delicious Flavor: The combination of cheddar cheese and sausage creates a savory taste that’s hard to resist.
- Versatile Serving Options: Perfect as an appetizer, side dish, or even a main entrée for brunch.
- Customizable Heat: Use regular or spicy ground sausage to cater to your spice preference.
Tools and Preparation
Before diving into the cooking process, ensure you have the right tools ready. Having everything organized will make the preparation smooth and efficient.
Grab This Chef Knife Now - Almost Gone!
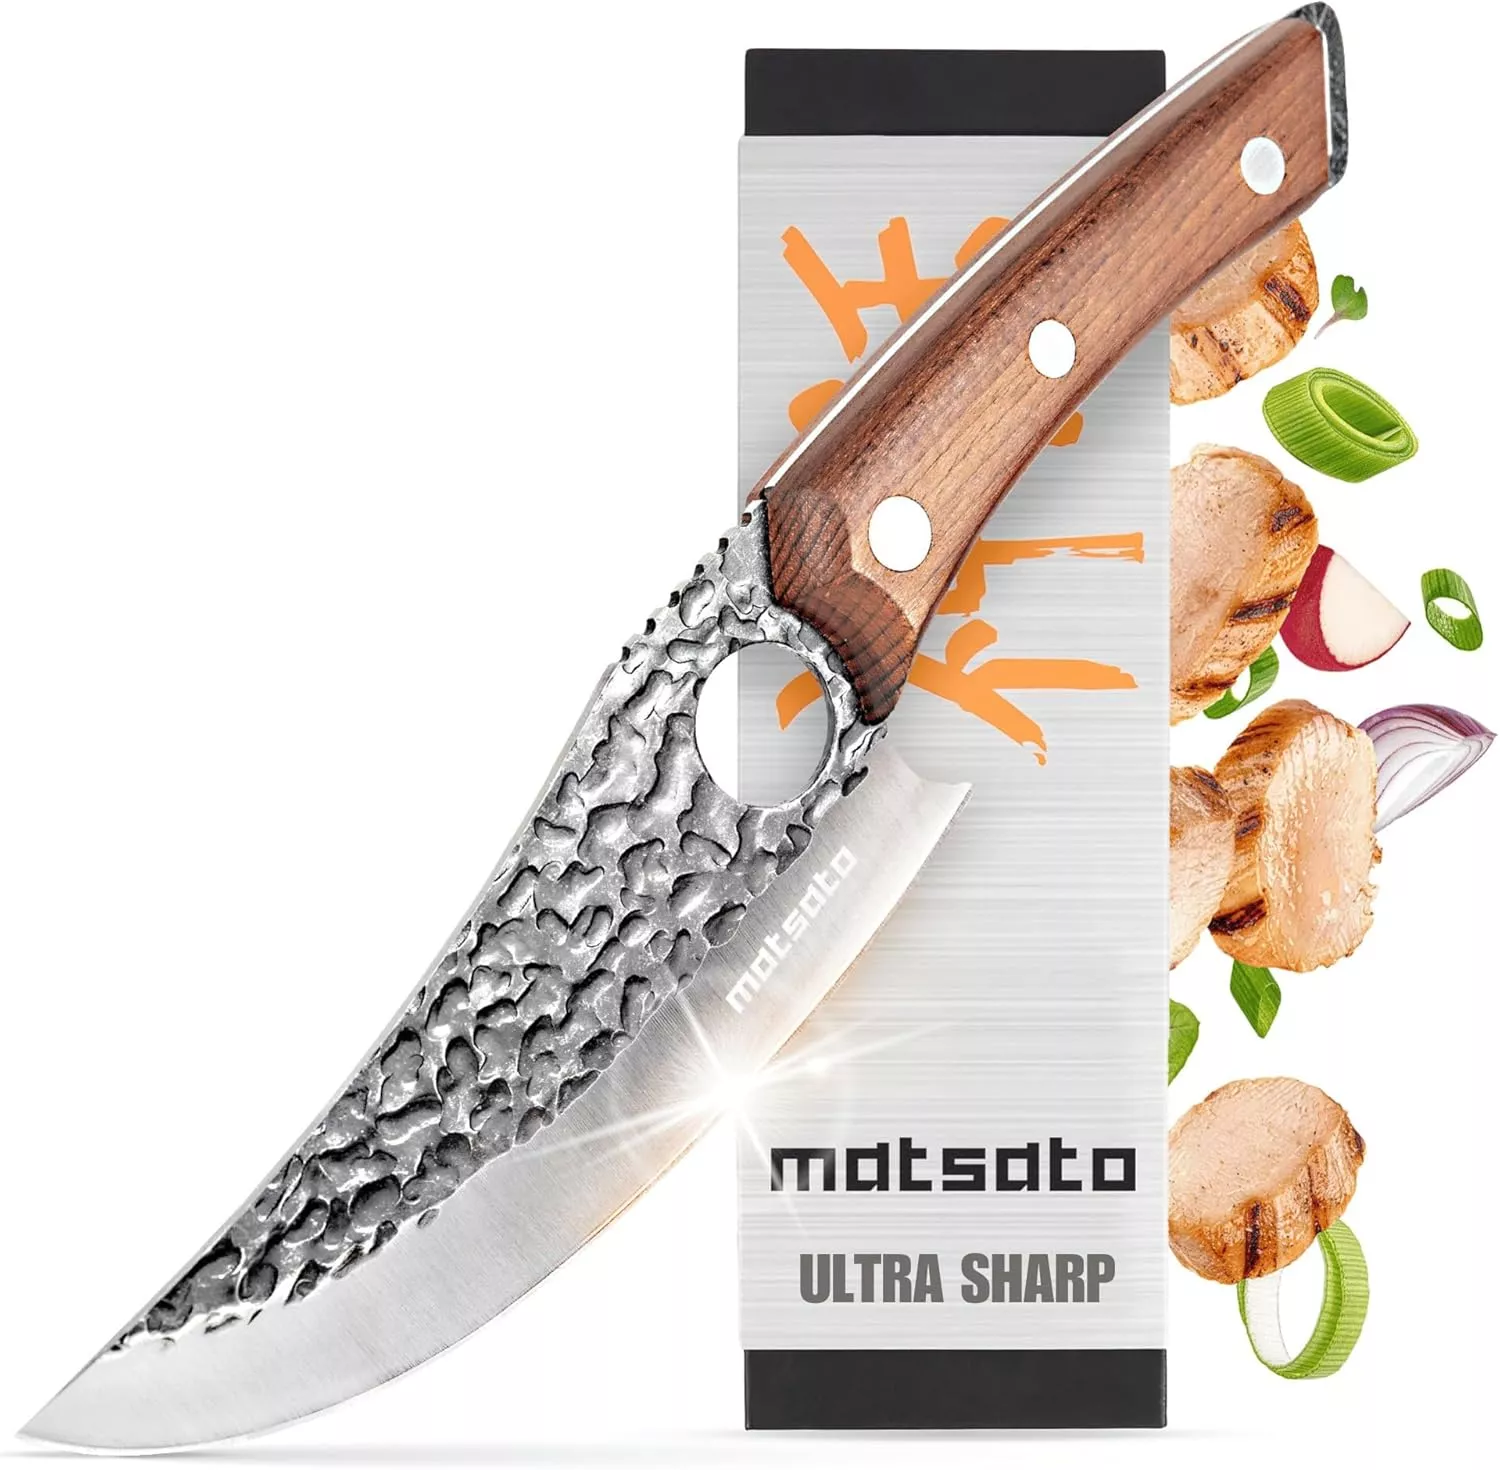
- Stays Razor-Sharp: Ice-hardened blade keeps its edge longer than ordinary knives
- Superior Grip Control: Unique finger hole design gives you perfect balance and safety
- Built to Last a Lifetime: Premium stainless steel blade with elegant beech wood handle
Customer Reviews ★★★★★
Essential Tools and Equipment
- Mixing bowl
- Baking sheet
- Measuring cups
- Grater (for cheese)
- Oven
Importance of Each Tool
- Mixing bowl: A large bowl allows for easy mixing of ingredients without spilling.
- Baking sheet: A sturdy baking sheet ensures even cooking and prevents sticking.
- Measuring cups: Accurate measurements lead to consistent results each time.
Ingredients
For the Sausage Balls
- 3 c Bisquick
- 1 lb sausage (ground pork, spicy is great)
- 16 oz cheddar cheese (shredded)
- 1/2 c milk (or use water but milk makes them fluffier)
How to Make Bisquick Sausage Balls Recipe
Step 1: Preheat the Oven
Preheat your oven to 350 degrees F. This ensures that your sausage balls cook evenly from the start.
Step 2: Mix Ingredients
In a large bowl, combine all ingredients:
1. Add the Bisquick, ground sausage, shredded cheddar cheese, and milk.
2. Using your hands, mix everything well until fully combined.
Step 3: Form the Balls
Once mixed, form the meat mixture into balls about 2-3 tablespoons each in size.
Step 4: Bake
Place the formed sausage balls on a large baking sheet:
1. Ensure they are spaced out evenly.
2. Bake for approximately 23-25 minutes until golden brown.
Step 5: Cool and Serve
Remove from the oven and let cool slightly before serving. Enjoy these delightful bites warm!
How to Serve Bisquick Sausage Balls Recipe
Bisquick sausage balls are a delightful treat that can be enjoyed in various ways. Whether you’re hosting a party or just having a casual gathering, these savory bites offer great versatility. Here are some delicious serving suggestions.
With Dipping Sauces
- Honey Mustard: A sweet and tangy option that complements the savory flavors of the sausage.
- Ranch Dressing: Creamy and herbaceous, ranch adds a refreshing touch.
- Spicy Ketchup: For those who like a kick, spicy ketchup enhances the flavors perfectly.
As an Appetizer
- Party Platter: Arrange the balls on a platter with toothpicks for easy serving at parties.
- Buffet Style: Offer them alongside other appetizers for guests to help themselves.
In Breakfast Bowls
- With Eggs: Pair warm sausage balls with scrambled eggs for a hearty breakfast.
- On a Bed of Greens: Serve over spinach or mixed greens for a light, nutritious meal.
At Tailgates or Picnics
- Portable Snack: These sausage balls are easy to transport and perfect for outdoor gatherings.
- Finger Food: They’re bite-sized, making them ideal for enjoying while mingling with friends.

How to Perfect Bisquick Sausage Balls Recipe
To ensure your bisquick sausage balls turn out perfectly every time, follow these simple tips.
- Use Cold Ingredients: Starting with cold ingredients helps maintain the texture of the sausage balls during baking.
- Don’t Overmix: Mix just until combined to keep the balls tender and fluffy.
- Make Uniform Sizes: Use a cookie scoop for even sizes, ensuring they bake evenly.
- Experiment with Cheese: Try different types of cheese such as pepper jack for added flavor.
- Adjust Baking Time: Keep an eye on them in the oven; they should be golden brown but not too dry.
- Store Properly: If you have leftovers, store them in an airtight container to maintain freshness.
Best Side Dishes for Bisquick Sausage Balls Recipe
Pair your bisquick sausage balls with these tasty side dishes to create a full meal experience. Each option complements the savory goodness of the sausage balls beautifully.
- Fresh Fruit Salad: A bright mix of seasonal fruits adds sweetness and freshness.
- Vegetable Platter: Crisp veggies like carrots and cucumbers provide crunch and balance.
- Potato Wedges: Crispy potato wedges seasoned with herbs are always a crowd-pleaser.
- Macaroni and Cheese: A creamy side that pairs well with the savory flavors of the sausage balls.
- Coleslaw: This crunchy, tangy dish offers a nice contrast to the richness of the sausage balls.
- Garlic Breadsticks: Soft and buttery breadsticks make a comforting addition to any plate.
Common Mistakes to Avoid
Making Bisquick sausage balls is simple, but there are a few common mistakes to keep in mind.
- Too Much Mixing: Overmixing can result in tough sausage balls. Mix just until combined for the best texture.
- Ignoring Cheese Quality: Using low-quality cheese can impact flavor. Opt for good quality, freshly shredded cheddar for a richer taste.
- Skipping Preheating: Not preheating your oven can lead to uneven cooking. Always preheat to ensure consistent baking.
- Not Measuring Ingredients: Guessing measurements can affect the outcome. Use precise measurements for best results.
- Baking Time Misjudgment: Baking too long can dry them out. Keep an eye on them and remove when golden brown.

Storage & Reheating Instructions
Refrigerator Storage
- Store Bisquick sausage balls in an airtight container.
- They will last up to 3 days in the refrigerator.
Freezing Bisquick Sausage Balls Recipe
- Freeze cooked sausage balls in a single layer on a baking sheet before transferring to a freezer-safe bag.
- They can be frozen for up to 2 months.
Reheating Bisquick Sausage Balls Recipe
- Oven: Preheat to 350°F and bake for about 10 minutes until heated through.
- Microwave: Heat on medium for about 30 seconds, checking frequently.
- Stovetop: Warm in a skillet over low heat, turning occasionally until heated through.
Frequently Asked Questions
Here are some common questions about the Bisquick sausage balls recipe.
What is the best type of sausage for Bisquick sausage balls?
Using ground pork sausage is traditional, but feel free to try spicy or turkey sausage for different flavors.
Can I make Bisquick sausage balls gluten-free?
Yes, you can substitute regular Bisquick with a gluten-free mix to make these sausage balls gluten-free.
How do I serve Bisquick sausage balls?
They make excellent appetizers or snacks and pair well with dipping sauces like ranch or honey mustard.
How long does it take to make Bisquick sausage balls?
The total time from prep to bake is around 38 minutes—15 minutes of prep and approximately 23 minutes of cooking.
Final Thoughts
The Bisquick Sausage Balls Recipe is perfect for parties, game days, or cozy family gatherings. With only three main ingredients, it’s quick and easy to whip up! Feel free to customize by adding herbs or spices according to your taste. Enjoy these delightful bites any time!

Bisquick Sausage Balls Recipe
- Total Time: 40 minutes
- Yield: Approximately 20 servings 1x
Description
Easy to make and incredibly delicious, Bisquick Sausage Balls are the ultimate appetizer for any occasion. This three-ingredient recipe combines savory ground sausage, creamy cheddar cheese, and fluffy Bisquick mix to create irresistible bites that are perfect for parties or cozy nights in. With just 15 minutes of prep time and a customizable heat level, these cheesy delights will impress your guests and satisfy your cravings. Whether served with tangy dipping sauces or enjoyed on their own, these savory snacks are sure to be a hit at your next gathering.
Ingredients
- 3 cups Bisquick
- 1 pound ground sausage (spicy or regular)
- 16 ounces shredded cheddar cheese
- 1/2 cup milk (or water)
Instructions
- Preheat the oven to 350°F (175°C).
- In a large mixing bowl, combine the Bisquick, ground sausage, shredded cheddar cheese, and milk. Mix until fully combined using your hands.
- Form the mixture into balls about 2-3 tablespoons each.
- Place the balls on a baking sheet, ensuring they are spaced evenly.
- Bake for 23-25 minutes until golden brown.
- Allow to cool slightly before serving.
- Prep Time: 15 minutes
- Cook Time: 25 minutes
- Category: Appetizers
- Method: Baking
- Cuisine: American
Nutrition
- Serving Size: 1 serving
- Calories: 115
- Sugar: 0g
- Sodium: 250mg
- Fat: 8g
- Saturated Fat: 3g
- Unsaturated Fat: 4g
- Trans Fat: 0g
- Carbohydrates: 4g
- Fiber: 0g
- Protein: 7g
- Cholesterol: 30mg


 21")


