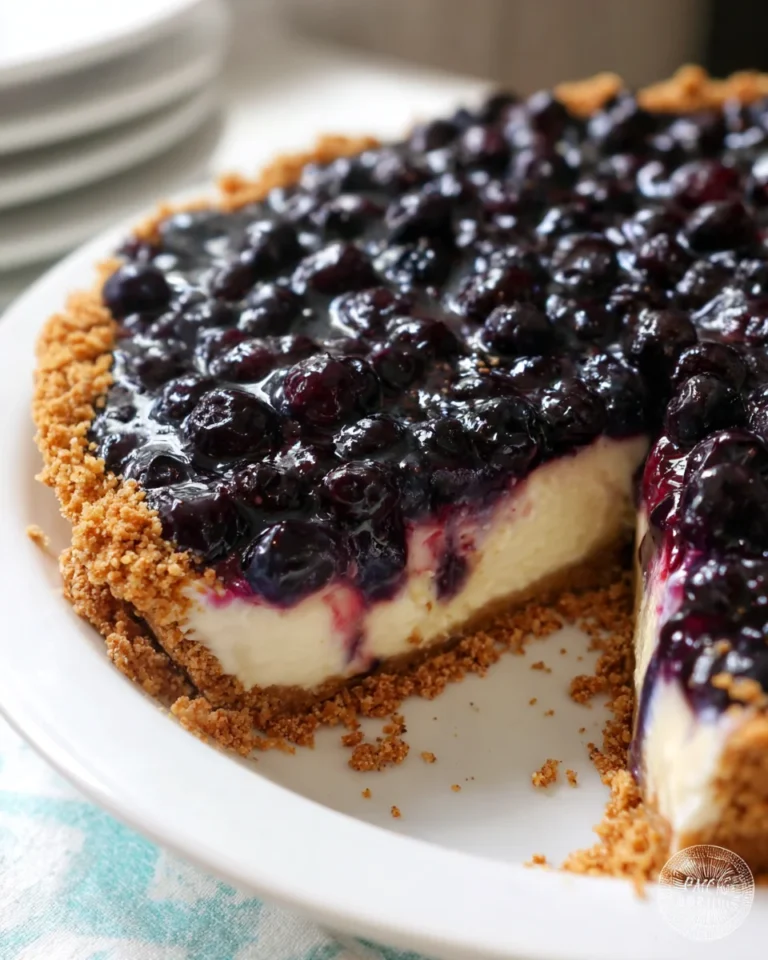
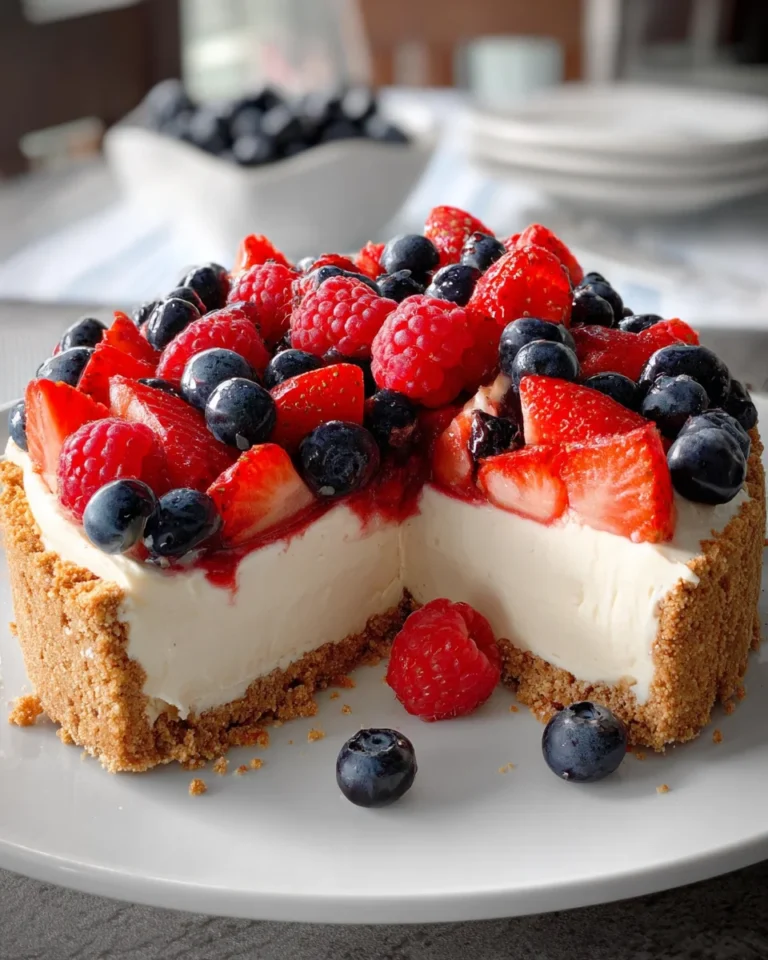
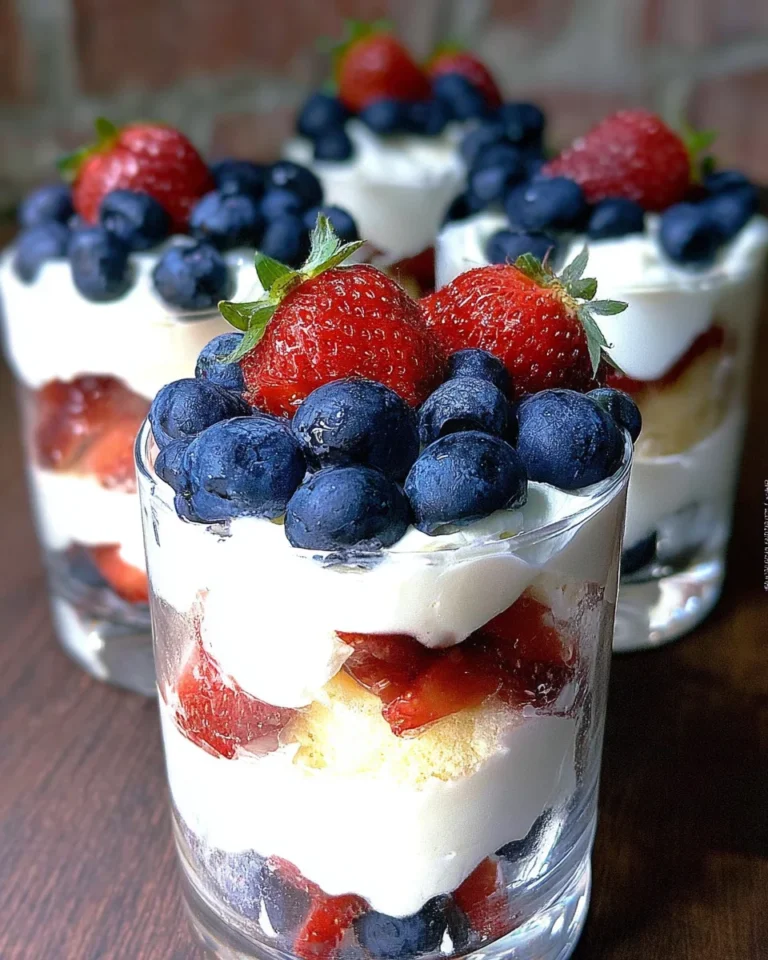
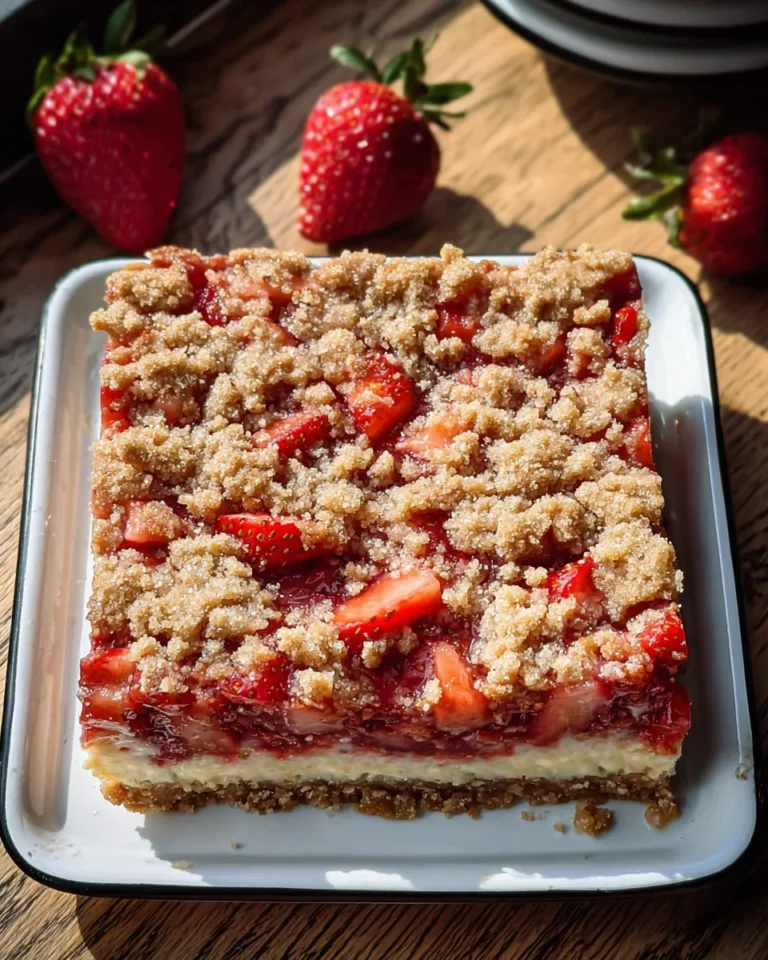
Mini Lemon Cheesecake Tarts
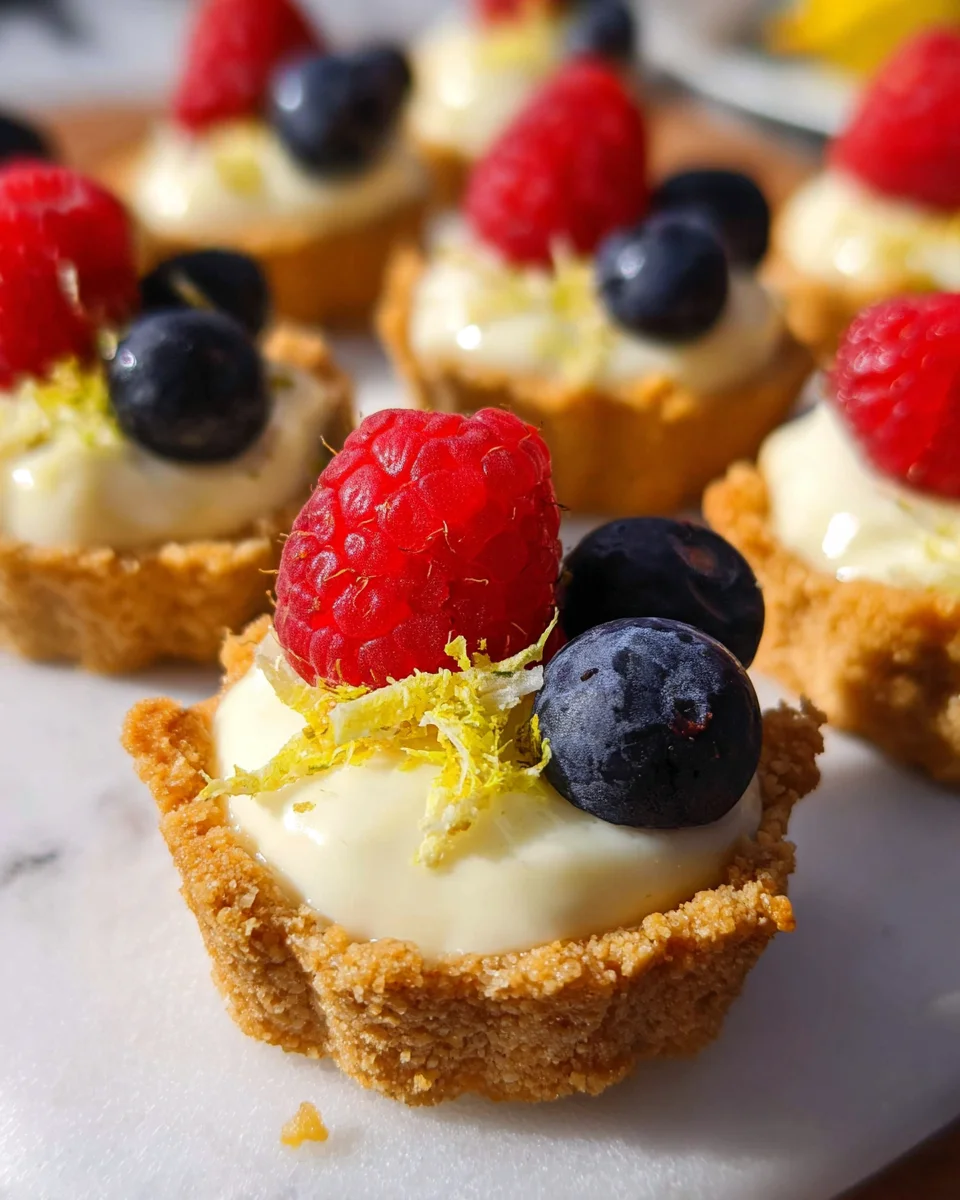
With a light and tangy lemon cheesecake filling, these adorable Mini Lemon Cheesecake Tarts are a perfect bite-size treat for any spring or summer celebration. They come together quickly, with no baking necessary, making them ideal for parties, picnics, or family gatherings. The delightful combination of flavors and the versatility in garnishing options make these tarts truly stand out!

Why You’ll Love This Recipe
- Quick Preparation: These tarts require only 20 minutes of prep time, allowing you to whip up a delicious dessert in no time.
- No Baking Needed: Enjoy the ease of making cheesecake without turning on the oven, perfect for hot days!
- Customizable Garnishes: Top them with fresh fruit or preserves to match your taste and occasion.
- Perfect Portions: Each tart is just the right size for a sweet treat without overindulging.
- Family-Friendly: Kids will love helping to make these cute mini desserts!
Tools and Preparation
Before diving into this delightful recipe, gather your tools to ensure a smooth preparation process.
Essential Tools and Equipment
- Mixing bowl
- Electric mixer
- Measuring cups and spoons
- Muffin tin or mini tart pans
- Plastic wrap
Importance of Each Tool
- Mixing bowl: A sturdy bowl allows you to combine ingredients easily without spills.
- Electric mixer: Saves time and ensures a smooth cheesecake filling by blending ingredients thoroughly.
- Muffin tin or mini tart pans: Provides the perfect shape for your tarts, ensuring they hold together well.
Ingredients
To create these delicious Mini Lemon Cheesecake Tarts, you will need the following ingredients:
Grab This Chef Knife Now - Almost Gone!
- Stays Razor-Sharp: Ice-hardened blade keeps its edge longer than ordinary knives
- Superior Grip Control: Unique finger hole design gives you perfect balance and safety
- Built to Last a Lifetime: Premium stainless steel blade with elegant beech wood handle
Customer Reviews ★★★★★
For the Crust
- 1 cup graham cracker crumbs (5 ounces, or 10 crackers crushed)
- 2 tablespoons granulated sugar
- 6 tablespoons unsalted butter (melted)
For the Filling
- 1 8-oz package cream cheese (softened)
- 1/2 cup sugar
- 2 teaspoons lemon zest (divided)
- 2 tablespoons lemon juice (freshly squeezed)
- 1/3 cup heavy whipping cream
- 1/4 teaspoon vanilla extract
For Garnish
- Fresh fruit or fruit preserves
How to Make Mini Lemon Cheesecake Tarts
Step 1: Prepare the Crust
- In a mixing bowl, combine graham cracker crumbs, sugar, and melted butter. Mix until well combined.
- Press the mixture firmly into the bottom of your muffin tin or mini tart pans to form an even layer.
Step 2: Make the Filling
- In another bowl, use an electric mixer to beat the softened cream cheese, sugar, and lemon zest. Blend until creamy and smooth.
- Add in the lemon juice, mixing until fully incorporated.
- In a separate bowl, whip the heavy cream until soft peaks form. Gently fold it into the cream cheese mixture along with the remaining lemon zest.
Step 3: Assemble and Chill
- Spoon the cheesecake filling evenly over each crust in your muffin tin.
- Cover with plastic wrap and refrigerate for at least 2 hours until set.
Step 4: Serve
- Once chilled, carefully remove tarts from the muffin tin.
- Garnish with fresh fruit or fruit preserves before serving.
Enjoy your delightful Mini Lemon Cheesecake Tarts at your next gathering!
How to Serve Mini Lemon Cheesecake Tarts
Mini Lemon Cheesecake Tarts are versatile and delightful treats that can be enjoyed in various ways. Here are some great serving suggestions to elevate your dessert experience.
For a Fresh Touch
- Garnish with Berries: Top each tart with fresh strawberries, blueberries, or raspberries for a pop of color and flavor.
- Add Mint Leaves: A sprig of mint adds a refreshing contrast to the tangy lemon cheesecake.
As a Party Platter
- Mixed Fruit Platter: Serve the tarts alongside a colorful assortment of seasonal fruits for a vibrant display.
- Mini Dessert Bar: Create a mini dessert bar by pairing the tarts with other bite-sized sweets like brownies and cookies.
With Beverages
- Serve with Iced Tea: The coolness of iced tea complements the tartness perfectly.
- Pair with Sparkling Water: A splash of lemon-flavored sparkling water enhances the citrus experience.
How to Perfect Mini Lemon Cheesecake Tarts
Perfecting your Mini Lemon Cheesecake Tarts is easy with these helpful tips. Follow these suggestions for an even more delicious result.
- Use Fresh Ingredients: Always opt for fresh lemons and high-quality cream cheese to ensure optimal flavor.
- Chill Properly: Allow the tarts to chill in the refrigerator for at least two hours to set properly and enhance their flavors.
- Experiment with Flavors: Try adding different extracts, such as almond or coconut, for a unique twist on the classic recipe.
- Customize Your Crust: Swap graham crackers for crushed cookies like Oreos or ginger snaps for a fun variation.
Best Side Dishes for Mini Lemon Cheesecake Tarts
To complement your Mini Lemon Cheesecake Tarts, consider serving them with these delightful side dishes. Each option brings its own unique flavor profile.
- Fresh Fruit Salad: A mix of seasonal fruits adds sweetness and balances the tartness of the cheesecake.
- Cheese Platter: A selection of cheeses provides savory flavors that contrast nicely with the sweetness.
- Chocolate-Covered Strawberries: These indulgent treats pair well with lemon, offering a rich and fruity combination.
- Pistachio Cookies: The nutty flavor of pistachios enhances the citrus notes in the tarts.
- Whipped Cream Dip: Serve whipped cream dip alongside fresh fruit for an extra creamy texture that complements the tarts.
- Lemon Sorbet: This refreshing sorbet serves as a palate cleanser between bites, enhancing the lemony goodness.
Common Mistakes to Avoid
When making Mini Lemon Cheesecake Tarts, it’s easy to overlook a few essential steps. Here are some common mistakes and how to avoid them.
- Skipping the Cream Cheese Softening: Using cold cream cheese can lead to lumps in your filling. Make sure to soften it at room temperature for a smooth texture.
- Overmixing the Filling: Mixing too much can introduce air, causing the tarts to crack. Mix just until combined for a creamy consistency.
- Ignoring Chilling Time: Failing to chill the tarts long enough can result in a runny filling. Allow at least two hours of chilling time for perfect results.
- Not Measuring Ingredients Accurately: Improper measurements can affect flavor and texture. Use measuring cups and spoons for accuracy.
- Choosing the Wrong Container: Using non-removable pans can make it hard to serve your tarts. Opt for removable-bottom tart pans for easy serving.

Storage & Reheating Instructions
Refrigerator Storage
- Store Mini Lemon Cheesecake Tarts in an airtight container.
- They will last for up to 5 days in the refrigerator.
Freezing Mini Lemon Cheesecake Tarts
- Wrap individual tarts tightly in plastic wrap, then place them in a freezer-safe container.
- They can be frozen for up to 2 months.
Reheating Mini Lemon Cheesecake Tarts
- Oven: Preheat the oven to 350°F (175°C). Place tarts on a baking sheet and heat for about 10 minutes until warmed through.
- Microwave: Heat each tart on medium power for about 15-20 seconds or until just warm.
- Stovetop: Place tarts in a skillet over low heat for about 5 minutes, monitoring closely to prevent burning.
Frequently Asked Questions
Here are some commonly asked questions about Mini Lemon Cheesecake Tarts.
How do I make Mini Lemon Cheesecake Tarts gluten-free?
You can substitute graham cracker crumbs with gluten-free cookies or crushed nuts to create a gluten-free crust.
Can I use bottled lemon juice instead of fresh?
While fresh lemon juice provides better flavor, bottled lemon juice can be used in a pinch if necessary.
How do I garnish my Mini Lemon Cheesecake Tarts?
You can top your tarts with fresh fruit like berries or citrus slices, or even drizzle fruit preserves over them for added flavor.
What is the best way to serve Mini Lemon Cheesecake Tarts?
These tarts are best served chilled after being refrigerated. This enhances their refreshing taste and texture.
Final Thoughts
Mini Lemon Cheesecake Tarts are delightful bite-sized treats that are perfect for any occasion. Their light and tangy flavor makes them ideal for spring and summer gatherings. Plus, you can customize them with various toppings like fruits or preserves, allowing you to create your unique twist!

Mini Lemon Cheesecake Tarts
- Total Time: 0 hours
- Yield: Approximately 12 servings 1x
Description
Indulge in the refreshing delight of Mini Lemon Cheesecake Tarts—bite-sized treats that perfectly balance creamy and tangy flavors. These no-bake tarts are incredibly easy to make, requiring just 20 minutes of prep time. Ideal for spring and summer gatherings, they can be customized with your favorite garnishes like fresh berries or fruit preserves. Each tart offers a satisfying portion without the guilt of overindulging, making them a family-friendly dessert that everyone will love. Whether you’re hosting a party or enjoying a picnic, these charming mini desserts are sure to impress.
Ingredients
- 1 cup graham cracker crumbs
- 2 tablespoons granulated sugar
- 6 tablespoons unsalted butter, melted
- 1 package (8 oz) cream cheese, softened
- 1/2 cup sugar
- 2 teaspoons lemon zest (divided)
- 2 tablespoons freshly squeezed lemon juice
- 1/3 cup heavy whipping cream
- 1/4 teaspoon vanilla extract
Instructions
- 1. Prepare the crust by combining graham cracker crumbs, sugar, and melted butter in a mixing bowl. Press firmly into muffin tins or mini tart pans.
- 2. In another bowl, beat together cream cheese, sugar, and 1 teaspoon of lemon zest until smooth. Add lemon juice and mix well.
- 3. Whip heavy cream in a separate bowl until soft peaks form; gently fold into the cream cheese mixture along with the remaining lemon zest.
- 4. Spoon the filling evenly into each crust and refrigerate for at least 2 hours until set before serving.
- Prep Time: 20 minutes
- Cook Time: None
- Category: Dessert
- Method: No-Bake
- Cuisine: American
Nutrition
- Serving Size: 1 tart (50g)
- Calories: 175
- Sugar: 11g
- Sodium: 92mg
- Fat: 12g
- Saturated Fat: 7g
- Unsaturated Fat: 4g
- Trans Fat: 0g
- Carbohydrates: 15g
- Fiber: <1g
- Protein: 2g
- Cholesterol: 30mg


