Energy Balls
Try this easy recipe for Energy Balls any time you are craving a no-bake healthy snack! These delicious bites are perfect for on-the-go energy and can be enjoyed at any time of the day. Whether you need a quick breakfast, an afternoon pick-me-up, or a post-workout treat, these energy balls fit the bill. They are versatile and can be customized with your favorite add-ins, making them a standout choice for health-conscious snackers.
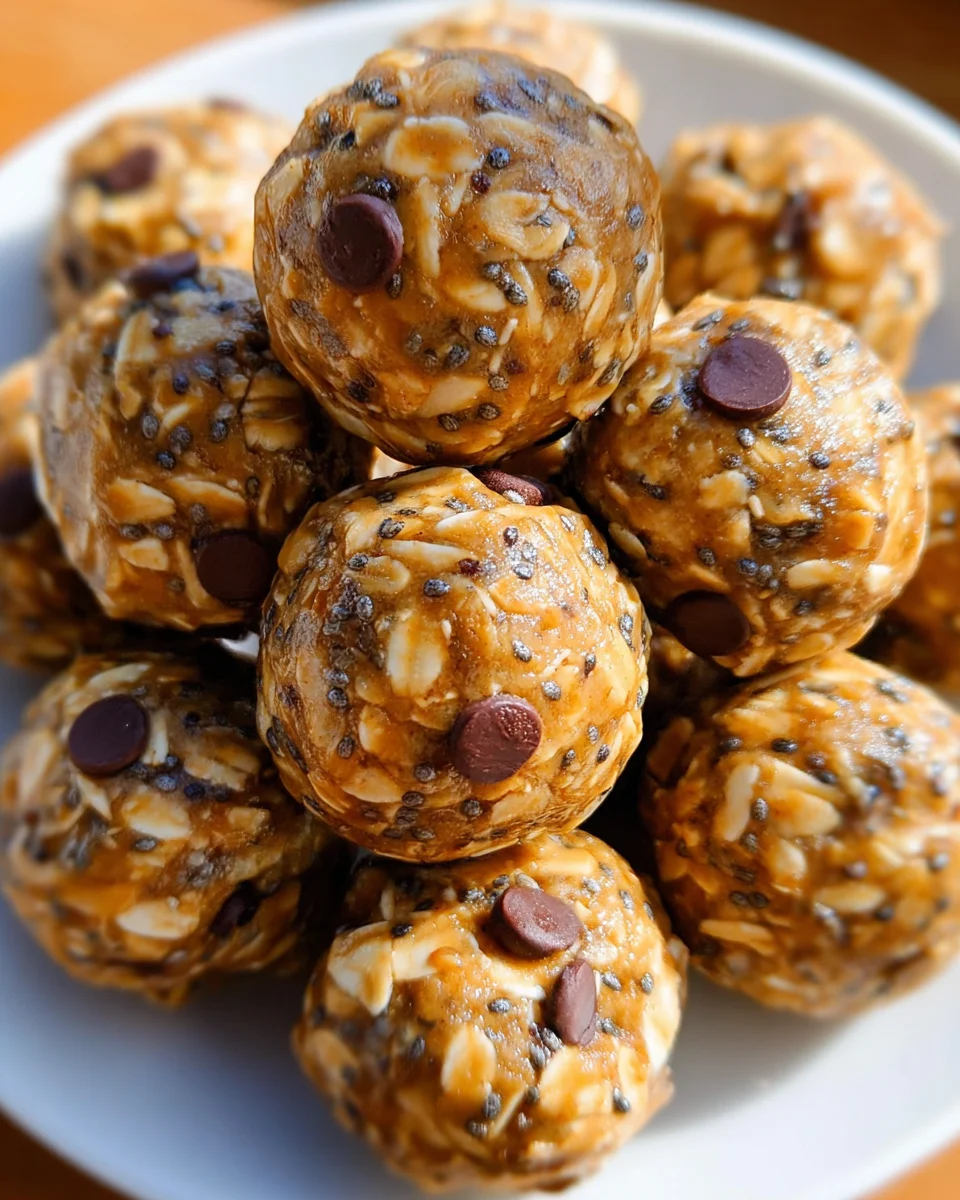
Why You’ll Love This Recipe
- Quick and Easy: With just 5 minutes of prep time, you can whip up a batch of energy balls without any baking required.
- Healthy Ingredients: Made with wholesome oats, nut butter, and natural sweeteners, these energy balls are packed with nutrition.
- Customizable Flavors: Add your favorite mix-ins like chocolate chips or dried fruits to create a unique flavor that suits your taste.
- Perfect for Meal Prep: Make a big batch to enjoy throughout the week; they store well in the fridge or freezer.
- Great for All Ages: Kids and adults alike will love these tasty snacks, making them an ideal family-friendly option.
Tools and Preparation
Before diving into making your energy balls, gather the essential tools to make the process seamless.
Essential Tools and Equipment
- Mixing bowl
- Measuring cups
- Spoon or spatula
- Baking sheet (optional)
- Container for storage
Importance of Each Tool
- Mixing bowl: A sturdy bowl is crucial for combining all your ingredients thoroughly.
- Measuring cups: Accurate measurements ensure that each batch of energy balls turns out perfectly every time.
- Spoon or spatula: These tools aid in mixing and rolling the dough into uniform balls.
Ingredients
For the Base
- 1 cup rolled oats
- 1/2 cup peanut butter (or allergy-friendly sub)
- 1/4 cup pure maple syrup (or honey or agave)
- 1 tbsp chia seeds
- 1/8 tsp salt
Optional Add-ins
- handful mini chocolate chips or raisins
How to Make Energy Balls
Step 1: Prepare the Nut Butter
If the nut butter is not already soft, gently warm it until easy to stir.
Grab This Chef Knife Now - Almost Gone!
- Stays Razor-Sharp: Ice-hardened blade keeps its edge longer than ordinary knives
- Superior Grip Control: Unique finger hole design gives you perfect balance and safety
- Built to Last a Lifetime: Premium stainless steel blade with elegant beech wood handle
Customer Reviews ★★★★★
Step 2: Mix Dry Ingredients
In a medium bowl, stir together the rolled oats, chia seeds, and salt until well combined.
Step 3: Combine Wet Ingredients
Add in the peanut butter and maple syrup. Stir until everything is evenly mixed.
Step 4: Form Energy Balls
Roll the mixture into small balls using your hands. Alternatively, press it into cookie shapes on a baking sheet if preferred.
Step 5: Store Your Energy Balls
Store leftovers in a covered container for up to a week at room temperature, three weeks in the refrigerator, or four months in the freezer.
How to Serve Energy Balls
Energy balls are a versatile snack that can be enjoyed in many ways. Whether you need a quick breakfast, an afternoon pick-me-up, or a post-workout treat, these no-bake delights are perfect for any occasion.
In a Snack Box
- Mix energy balls with fresh fruits and nuts for a balanced snack box. This combination provides fiber and healthy fats.
As a Breakfast Option
- Pair energy balls with yogurt and berries for a nutritious start to your day. The protein from the energy balls will keep you full longer.
During Workouts
- Take energy balls along to the gym for a pre or post-workout boost. They offer quick energy without weighing you down.
On-the-Go Treats
- Pack energy balls in your bag for a convenient snack while traveling. They are easy to transport and help curb hunger.
At Parties
- Serve energy balls as part of a healthy snack platter at gatherings. They’re sure to be a hit among guests looking for healthier options.
With Smoothies
- Crumble energy balls into smoothies for added texture and nutrition. This enhances the flavor and gives you sustained energy throughout the day.
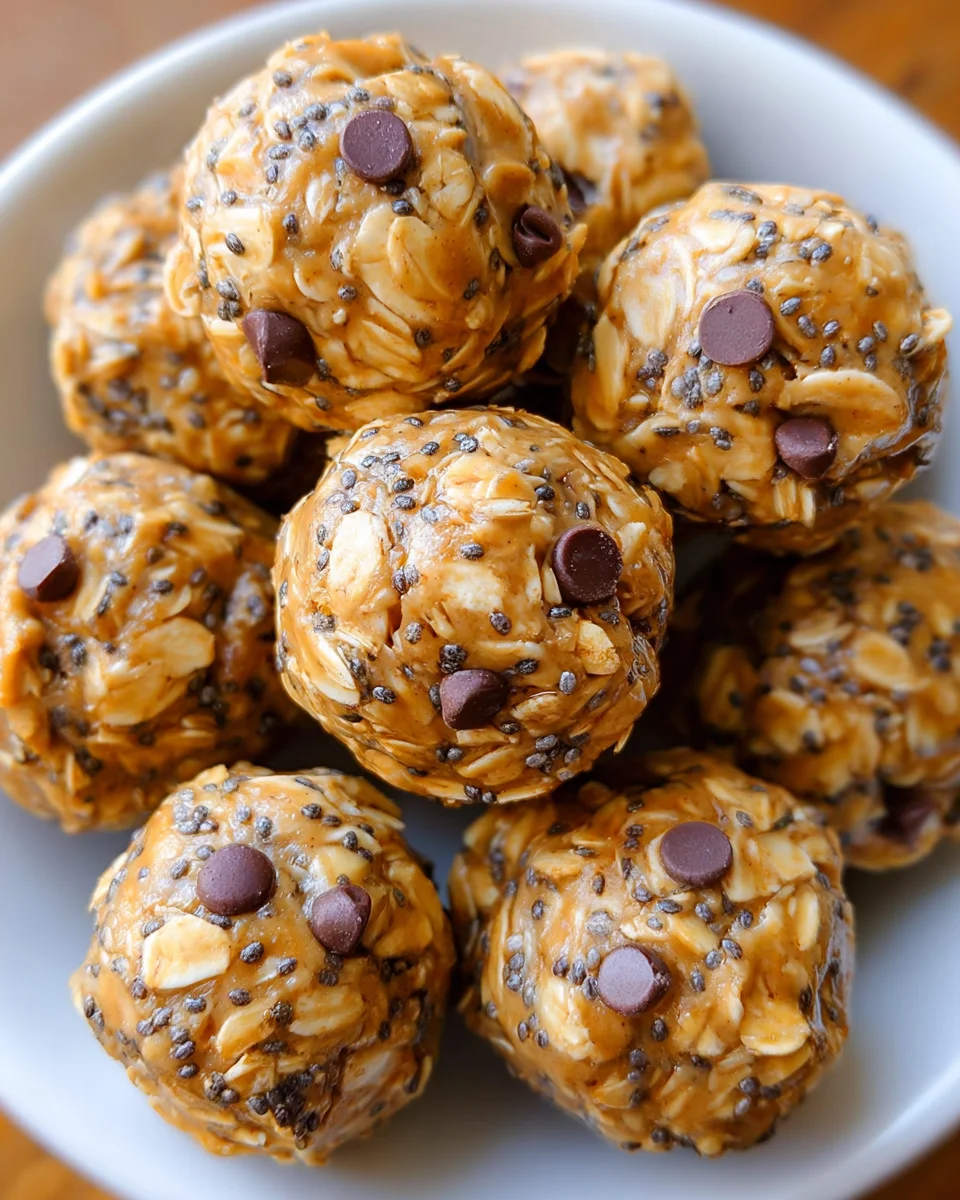
How to Perfect Energy Balls
Perfecting your energy balls is easy with just a few tips. Following these suggestions will help you create delicious snacks every time.
- Choose the right nut butter: A creamy nut butter will blend well with other ingredients, ensuring smooth consistency.
- Experiment with add-ins: Try different mix-ins like dried fruits, seeds, or spices to keep your energy balls exciting.
- Adjust sweetness: If you prefer less sweetness, reduce the amount of maple syrup or honey according to taste.
- Roll them tight: Ensure each ball is tightly rolled so they hold their shape better during storage.
- Chill before serving: Refrigerating for about 30 minutes helps them firm up, making them easier to handle and tastier.
- Use quality ingredients: Opt for organic oats and natural sweeteners to enhance flavor and nutrition.
Best Side Dishes for Energy Balls
Energy balls can be complemented by various side dishes that enhance their nutritional value. Here are some great options to consider:
- Fruit Salad – A mix of seasonal fruits adds freshness and vitamins to your meal.
- Greek Yogurt – Creamy yogurt provides protein and probiotics that support gut health.
- Veggie Sticks – Crunchy carrots, cucumbers, or bell peppers pair well for extra crunch and nutrients.
- Nut Mix – A handful of mixed nuts adds healthy fats and keeps you satisfied longer.
- Cheese Cubes – Pairing with cheese offers calcium and protein, making it a filling combo.
- Hummus – This protein-rich dip complements fresh veggies or whole grain crackers perfectly.
- Whole Grain Crackers – A source of complex carbs that make great accompaniments to your snacks.
- Smoothie Bowl – Serve alongside an energizing smoothie bowl packed with fruits and greens for extra nutrition.
Common Mistakes to Avoid
Making energy balls is simple, but common mistakes can ruin your snack. Here are some pitfalls to watch out for.
- Using dry ingredients only: Ensure you mix wet ingredients thoroughly with dry ones for a cohesive texture.
- Not measuring accurately: Use precise measurements for oats and nut butter to avoid overly sticky or crumbly balls.
- Skipping refrigeration: Allowing the energy balls to chill helps them firm up and makes them easier to handle.
- Ignoring flavor balance: Don’t forget to adjust sweeteners according to your taste; too much or too little can affect the overall flavor.
- Neglecting variations: Don’t hesitate to experiment with add-ins like nuts or seeds for extra nutrition and flavor.
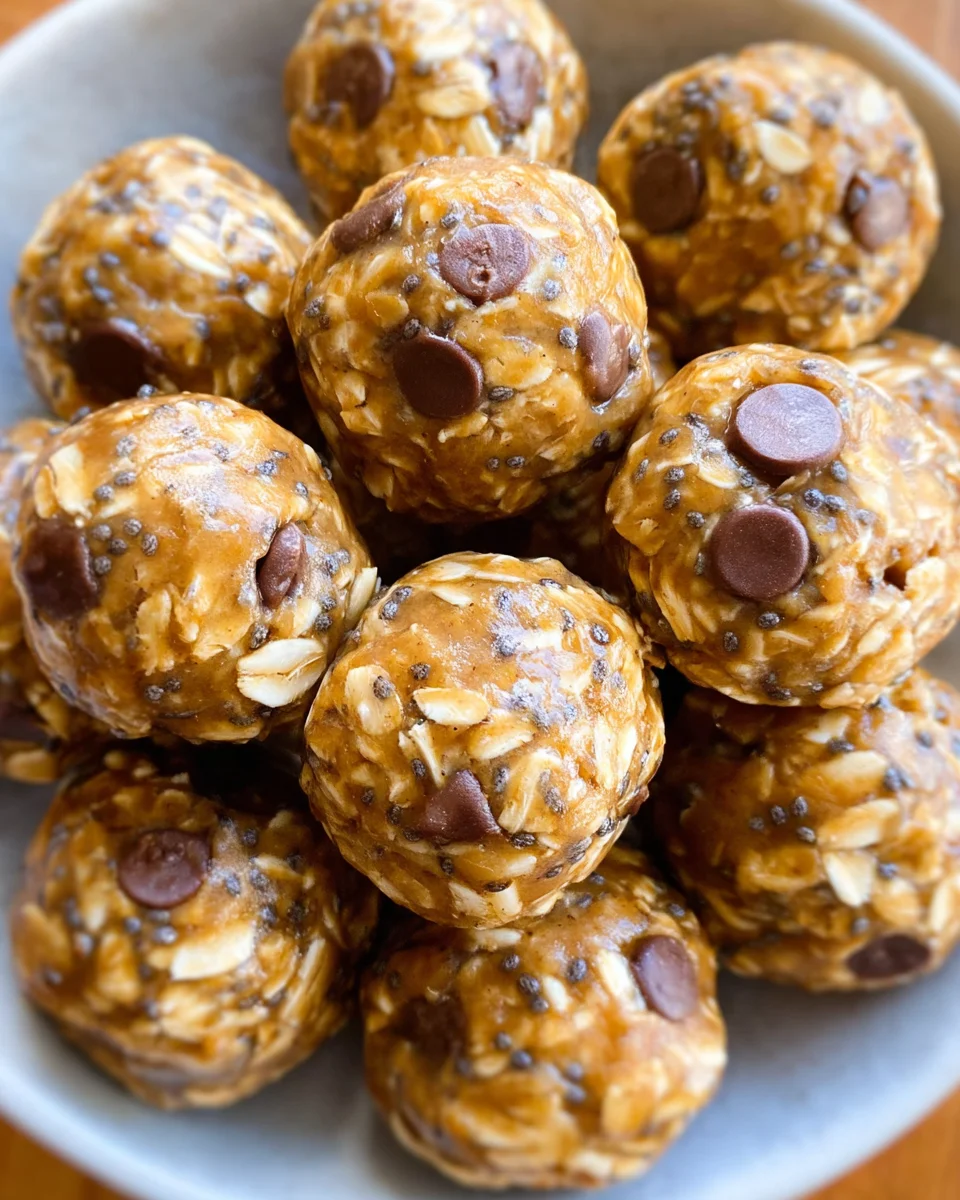
Storage & Reheating Instructions
Refrigerator Storage
- Store energy balls in an airtight container.
- They can last up to one week in the fridge.
Freezing Energy Balls
- Place the energy balls in a freezer-safe container or bag.
- They stay fresh for about four months when frozen.
Reheating Energy Balls
- Oven: Preheat to 350°F (175°C) and warm for about 5-10 minutes for a soft texture.
- Microwave: Heat one ball at a time on medium power for 15-20 seconds until warm.
- Stovetop: Lightly toast in a pan over low heat, turning frequently until just warmed through.
Frequently Asked Questions
Here are some common questions about making energy balls.
What are Energy Balls?
Energy balls are no-bake snacks made from a mixture of oats, nut butter, sweeteners, and other healthy ingredients.
How do I customize my Energy Balls?
You can add ingredients like dried fruits, nuts, or protein powder to tailor the recipe to your preferences.
Can I use different nut butters in Energy Balls?
Absolutely! Feel free to substitute peanut butter with almond butter or sunflower seed butter for allergy-friendly options.
How long do Energy Balls last?
When stored correctly, energy balls can be kept in the refrigerator for up to one week or frozen for four months.
Final Thoughts
These energy balls are not only delicious but also incredibly versatile. You can easily customize them with your favorite mix-ins. Perfect as a quick snack or a post-workout treat, they will surely satisfy your cravings. Give this easy recipe a try today!

Energy Balls
- Total Time: 5 minutes
- Yield: Approximately 12 servings 1x
Description
Energy balls are the perfect solution for your snacking needs, offering a quick, healthy, and delicious no-bake treat. These wholesome bites combine rolled oats, nut butter, and natural sweeteners to fuel your day without the guilt. Ideal for breakfast, post-workout recovery, or an afternoon pick-me-up, energy balls are versatile and customizable. Simply mix in your favorite ingredients like chocolate chips or dried fruit to create a snack that suits your taste buds.
Ingredients
- 1 cup rolled oats
- 1/2 cup peanut butter (or allergy-friendly alternative)
- 1/4 cup pure maple syrup (or honey/agave)
- 1 tbsp chia seeds
- 1/8 tsp salt
- Optional: Handful of mini chocolate chips or raisins
Instructions
- If needed, warm the nut butter slightly for easier mixing.
- In a bowl, combine rolled oats, chia seeds, and salt.
- Add peanut butter and maple syrup; stir until well mixed.
- Roll into small balls or press into cookie shapes on a baking sheet.
- Store in an airtight container at room temperature for up to one week, in the fridge for three weeks, or freeze for four months.
- Prep Time: 5 minutes
- Cook Time: 0 minutes
- Category: Dessert
- Method: No-bake
- Cuisine: American
Nutrition
- Serving Size: 1 serving
- Calories: 105
- Sugar: 5g
- Sodium: 50mg
- Fat: 5g
- Saturated Fat: 1g
- Unsaturated Fat: 4g
- Trans Fat: 0g
- Carbohydrates: 12g
- Fiber: 2g
- Protein: 3g
- Cholesterol: 0mg


